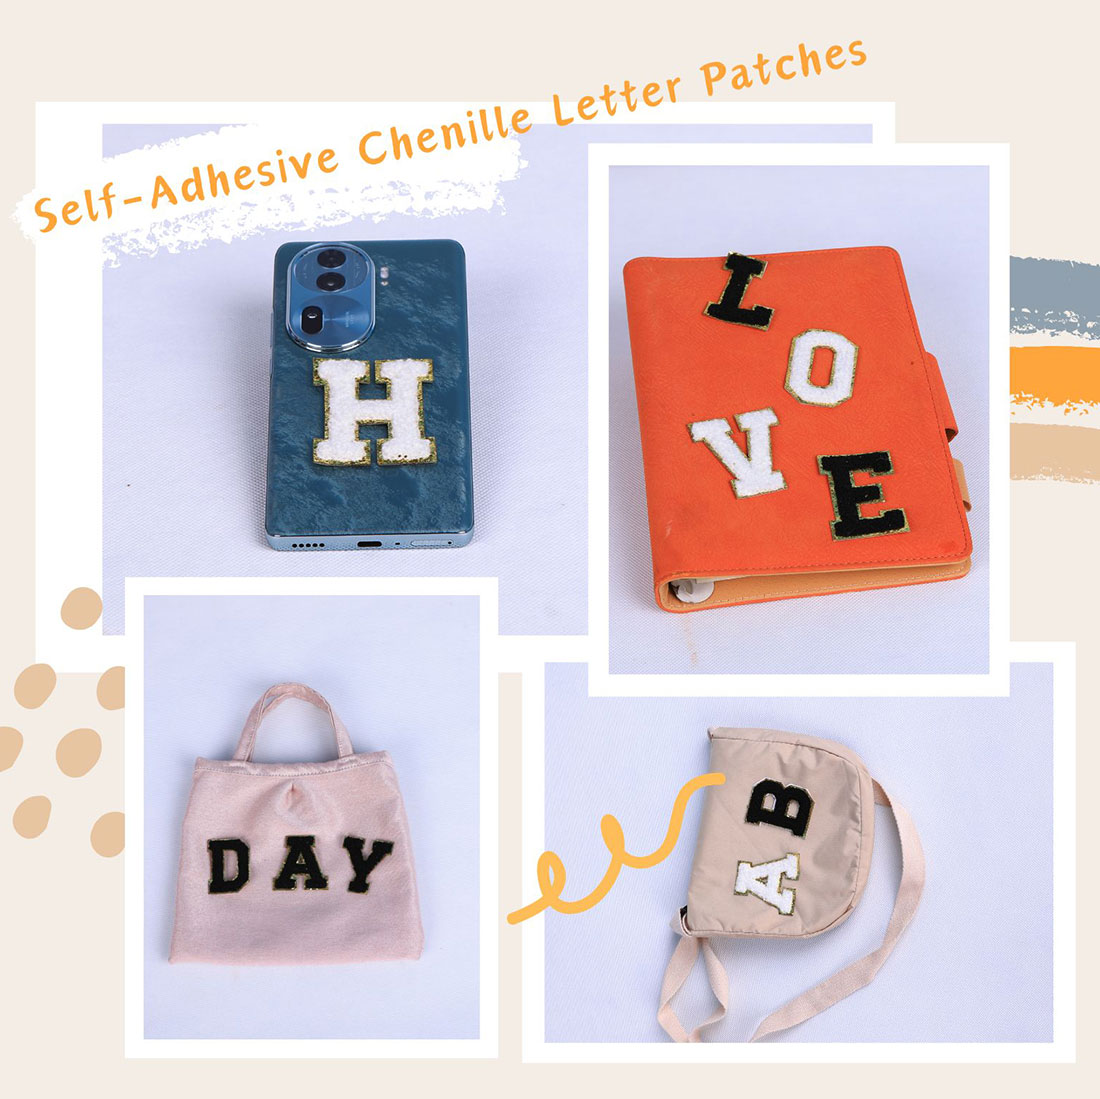
Backpacks are the ideal patch canvas: they are cheap, they take abuse, and a personalised backpack is instantly recognisable from across a campus. The catch is that backpacks are made from materials that range from good cotton canvas to laminated polyester to coated nylon, and each one reacts completely differently to heat.
This guide covers how to identify your bag’s material from the label, the right settings for each, and the one preparation step that separates a patch that survives a term of daily use from one that peels off in a fortnight.
Identify the material first
Turn the bag over and read the care label. You are looking for one of these:
| Label says | Material | Approach |
|---|---|---|
| 100% cotton, canvas | Cotton canvas | Press directly, 150–165°C |
| Polyester | Polyester | Low setting, 10–15s |
| Nylon, ripstop | Nylon | Low setting, very short press |
| PU, PVC, coated, laminated | Coated synthetic | Adhesive only — heat melts coating |
| No label, feels coated and shiny | Laminated | Adhesive only, or sew |
The preparation step that matters most
Backpacks and bags are handled constantly, and the oils from hands, the lotion in a bag pocket, and the dust that settles in a canvas weave all sit exactly where the adhesive needs to reach the fibre.
- Wash the bag if the label allows it, or wipe the patch area with a damp cloth and let it dry completely.
- Wipe the area with isopropyl alcohol on a cloth. This removes oils and residue and takes thirty seconds. Do not use it on coated or dyed finishes without testing first.
- Let the area dry fully. Any moisture trapped under a patch is the enemy of a good bond.
- Do not use fabric softener or a water-repellent spray on the area you are about to patch. Both leave a film that prevents adhesion.
Pressing a patch onto a backpack
- Work on a flat, hard surface. A backpack on the floor is fine; a backpack on your lap is not.
- Empty the pocket you are patching so nothing bulges behind the fabric and steals your pressure.
- Turn the pocket inside out if you can. Pressing from the inside gives you the flat, direct contact that produces the best bond, and protects the gold trim from direct heat.
- Peel and position the patch using the adhesive backing. Check the alignment before you press.
- Cover with a thin cotton cloth and press firmly for 15–25 seconds (canvas) or 10–15 seconds (polyester, nylon).
- Cool for 30 seconds before moving the bag.
- Wait 24–48 hours before loading the bag up or heading out in the rain.
Where to put letters on a backpack
- The front panel, above the zip. Cleanest canvas, most visible, easiest to press flat.
- A side pocket. Works well if the pocket is flat-backed; less so if it bulges.
- On the flap of a messenger-style bag. Also visible, and usually a flat single layer.
- On a strap. Do not. Straps flex constantly and the bond will fail within weeks.
- Avoid zippers, seams, and reinforced bottoms — thick, raised, and they carry load.
The laminated backpack problem
Modern school backpacks are frequently laminated polyester with a waterproof coating. Heat will melt or distort the coating, and sometimes it will bond the patch permanently into the laminate while still not adhering well — the worst of both outcomes.
For these bags, use the self-adhesive layer only:
- Clean the surface with an alcohol wipe, let it dry.
- Peel and position each letter, press firmly with your thumb for 30–60 seconds.
- Place the bag flat under books or a weighted towel for several hours.
If the adhesive is not enough on a coated bag, sew through the patch with a needle and strong thread. Stitching through chenille is easy and the result is permanent.
Rain, sun, and washing
- Water — heat-activated patches on cotton canvas handle rain fine. Adhesive-only patches on coated bags also handle rain, but the adhesive is the weak point in cold, wet conditions.
- Sun — UV fades the chenille pile over time. Rotate bags if you keep the same one in the sun all summer.
- Washing — if the bag is washable, wash it cold and inside out, and dry low. Most backpacks should be spot cleaned instead.
Full washing guidance is in how to wash and dry patches.
Common mistakes
| Mistake | Result | Fix |
|---|---|---|
| Skipping the alcohol wipe | Peels within weeks | Degrease the area first |
| Ironing a laminated bag | Melted or warped coating | Adhesive only, or sew |
| Patching a strap | Falls off quickly | Use a flat panel instead |
| Pressing with the pocket full | Uneven bond, lifted edges | Empty it and press flat |
| Short press on thick canvas | Peels in the wash | 15–25s, firm pressure |
Frequently asked questions
Can you iron patches onto a backpack?
Yes on cotton or canvas backpacks at 150-165°C (300-330°F) for 15-25 seconds under a cotton barrier cloth. Do not iron laminated, coated, or PVC backpacks — the heat melts the coating. Use the self-adhesive layer or sew instead.
What temperature do I use for a polyester backpack?
Use 110-130°C (230-265°F) and press only 10-15 seconds. Polyester glazes at higher temperatures and the shiny mark does not wash out.
How do I stop backpacks patches peeling off?
Clean the area first. Oils from hands and any residue kill the bond. Wipe with isopropyl alcohol, let it dry fully, avoid fabric softener or water-repellent spray on that area, then press for the full time for the material.
Can I put patches on a nylon backpack?
Technically yes, but use the lowest setting and a 10 second press, because nylon softens and can glaze. For a better result on ripstop nylon, use the self-adhesive layer without heat.
Should I wash my backpack after adding patches?
If the bag is washable, wash it cold and inside out and dry low. Many backpacks should be spot cleaned instead. In either case, wait 48 hours after patching before washing or soaking the bag in rain.
Can you iron patches on a backpack strap?
Not recommended. Straps flex and carry load constantly, so the bond will fail within weeks. Choose a flat panel such as the front pocket or the flap above the zip.
Shop the A–Z chenille letter sets
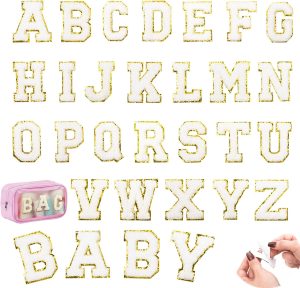
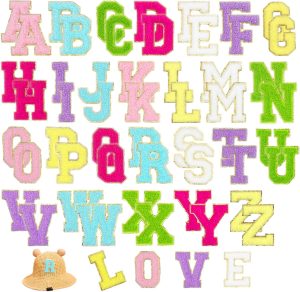
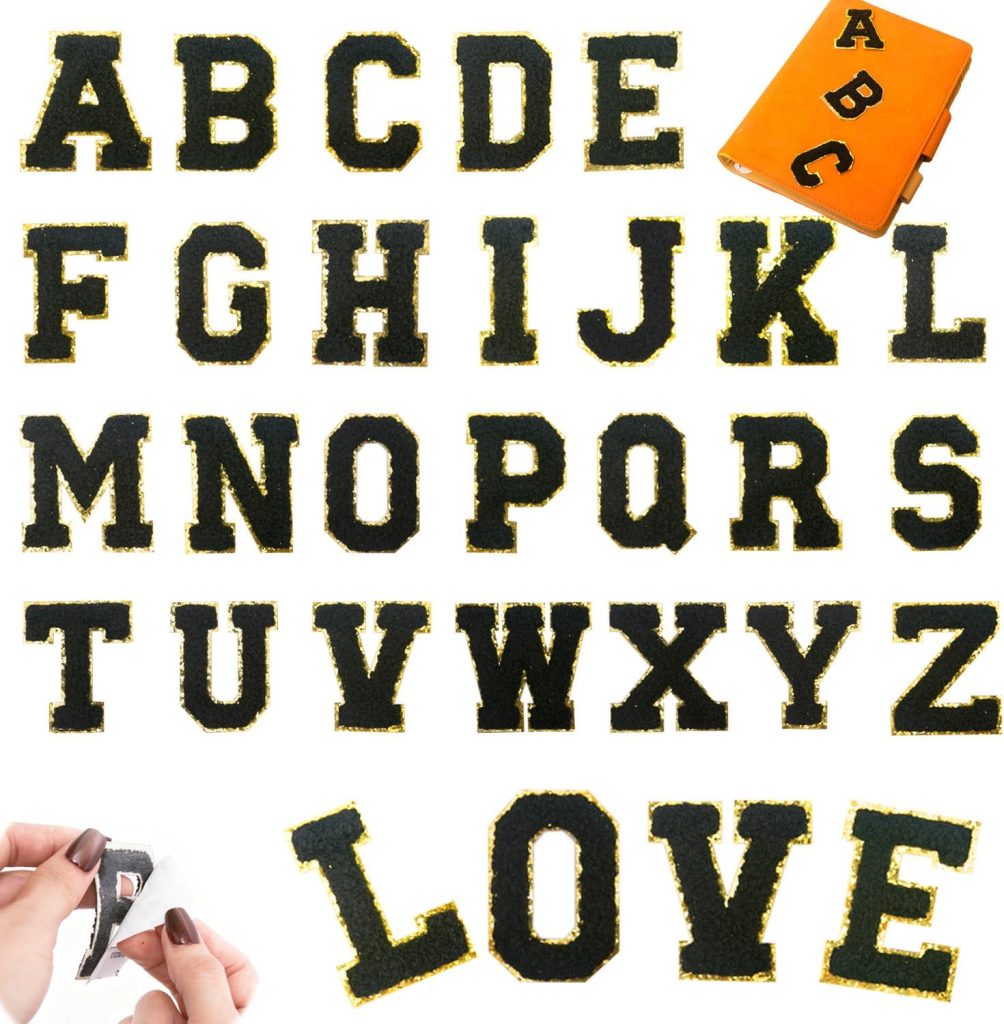
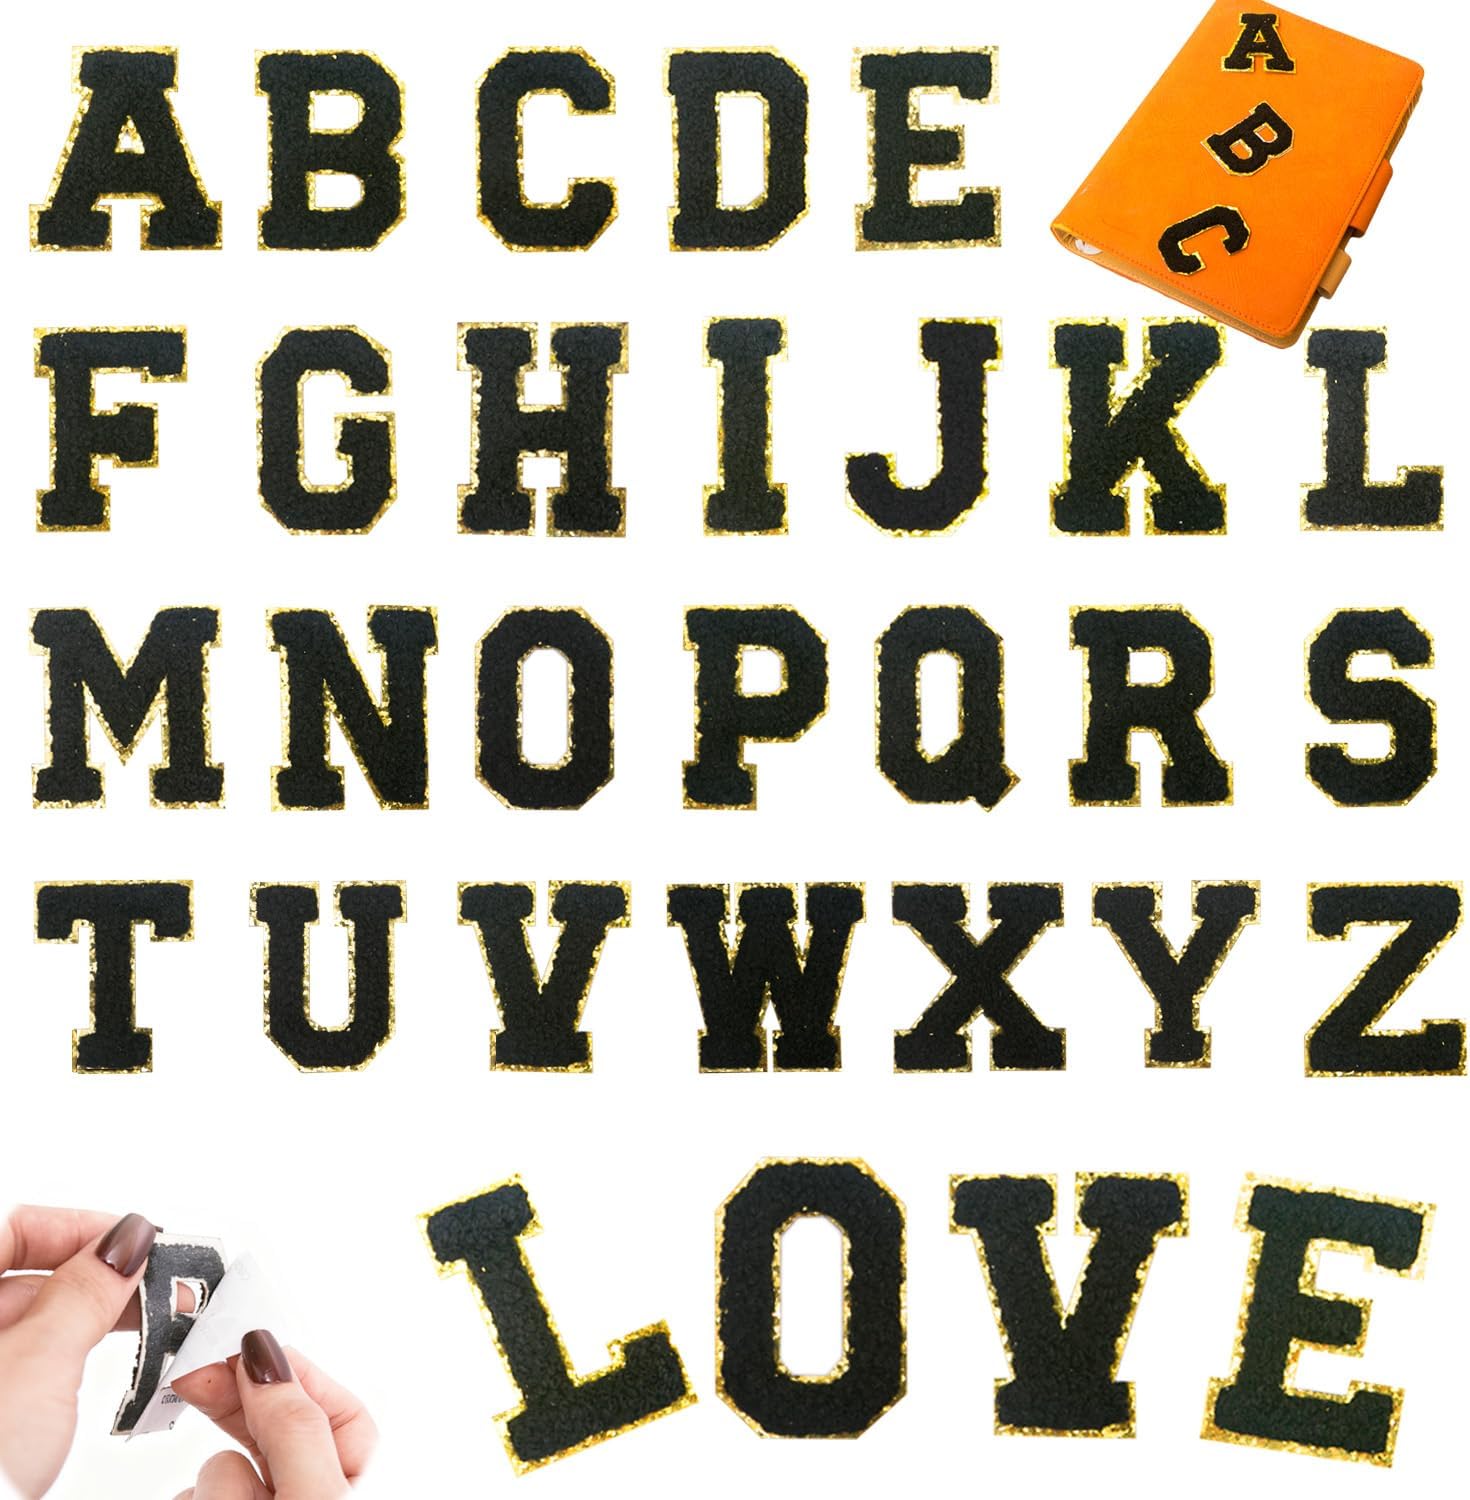
Every set is dense dimensional chenille with a metallic gold embroidered border, a strong self-adhesive backing, and an iron-on layer for permanence. Pick the size that fits your project.
Related reading
- The complete patch application guide — every fabric, every method, one page.
- Patch care and troubleshooting — what to do when a patch lifts, peels, or stains.
- Iron-on temperature calculator — pick your fabric, get the exact heat setting and press time.
- What is chenille embroidery? — how the fuzzy yarn and gold trim are made.