A plain jacket is a blank canvas. With a handful of embroidered and chenille patches, you can turn mass-produced clothing into something unmistakably yours. This DIY guide covers where to place patches, how to compose a layout, and how to make it last.
Start With the Right Base
Denim jackets, canvas totes, baseball caps, and plain jeans are ideal — sturdy fabrics hold patches well and suit the casual, personalized look. Lighter knits can work but may need sewing for security.
Placement Ideas
- Denim jacket back: the classic 'billboard' — spell a word or build a scene.
- Jean thighs or knees: a single statement patch or a small cluster.
- Cap front or side: one chenille letter reads perfectly.
- Tote bags: great for a rotating message patch.
- Collars and cuffs: subtle accents for the detail-oriented.
Composing a Layout
Before sticking anything down, lay patches on the garment and step back. Consider symmetry (a balanced pair) versus a single bold statement. Mixing sizes — a large chenille letter with smaller embroidered accents — creates rhythm. Leave breathing room; cramming reads messy.
Mixing Embroidered and Chenille
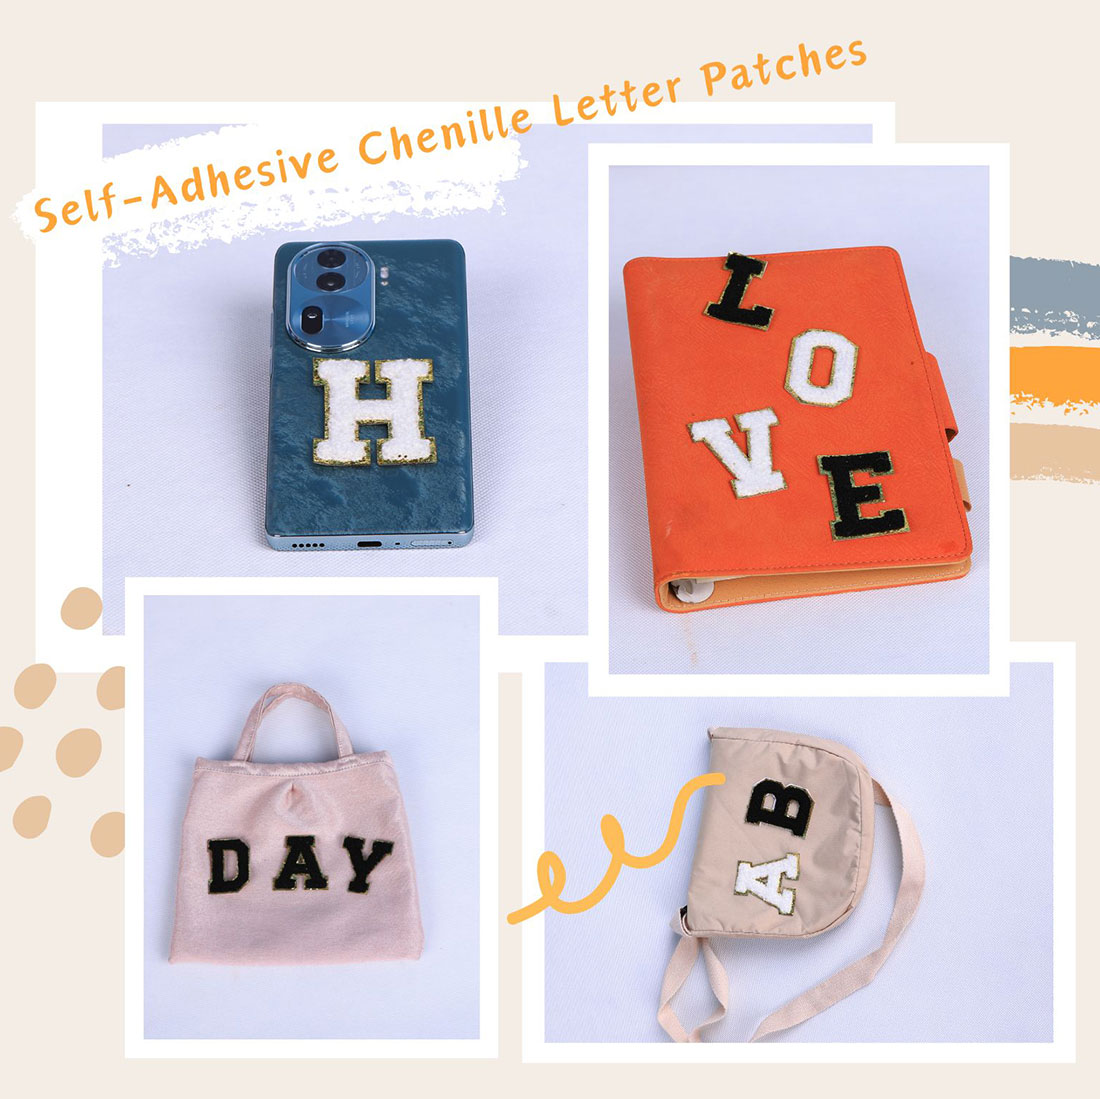
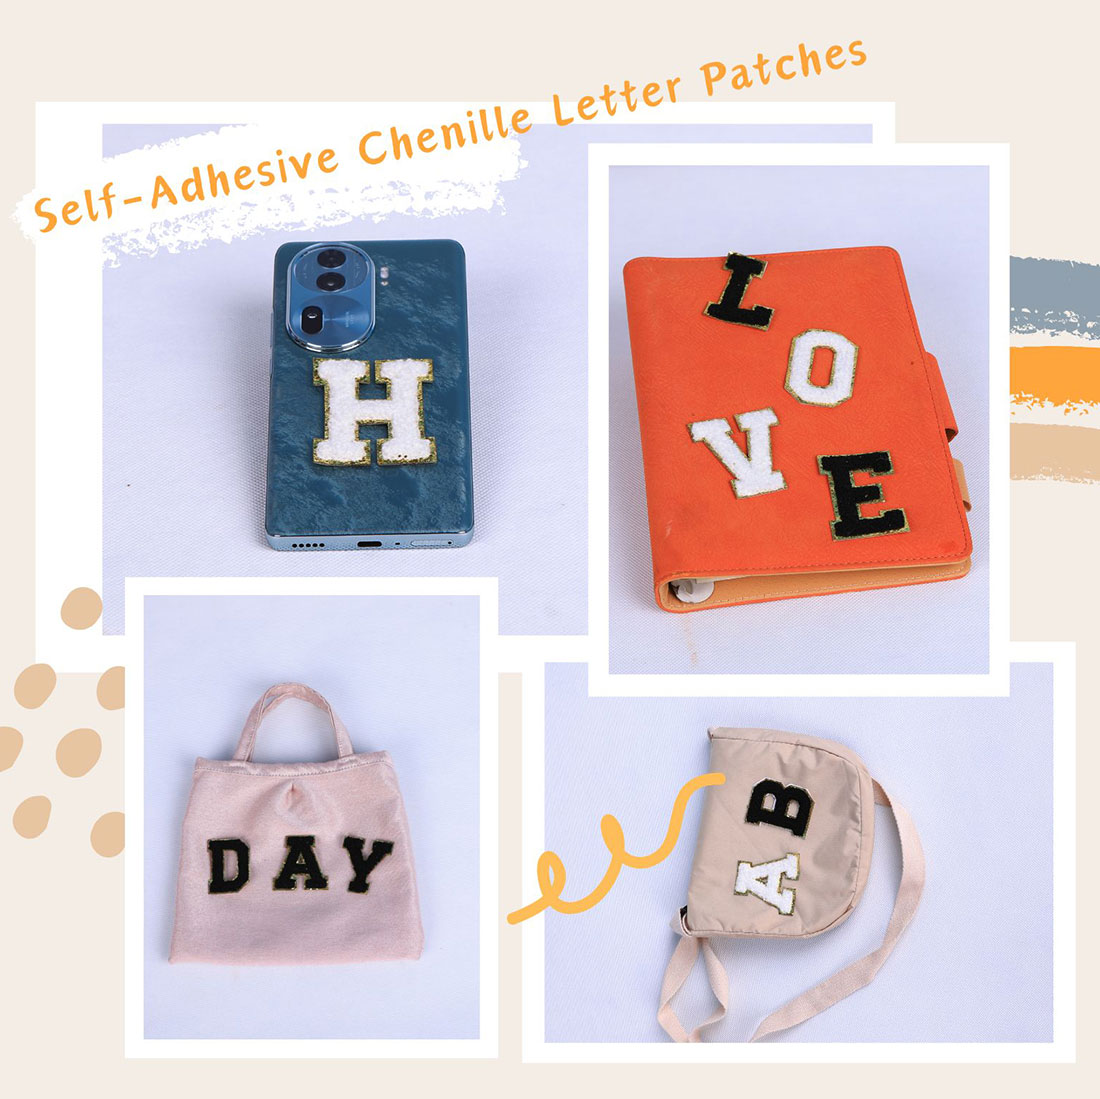
Embroidered patches offer fine detail; chenille adds soft dimension. Pairing them gives depth — for example, a chenille initial anchored by small floral embroidered patches. The contrast is what makes a jacket look curated rather than random.
Secure and Care
Iron-on is perfect for a quick result; add a few border stitches on high-movement areas for permanence. Wash inside out, cold and delicate, and your design stays crisp.
Conclusion
Personalizing clothes with patches is fast, affordable, and endlessly expressive. Start with one patch — you will quickly want ten.
Ready to start your own embroidery project?
Explore YTONN's 26-piece chenille letter patch set or the 52-piece white & black varsity set — self-adhesive, iron-on appliques for jackets, hats, and jeans.
