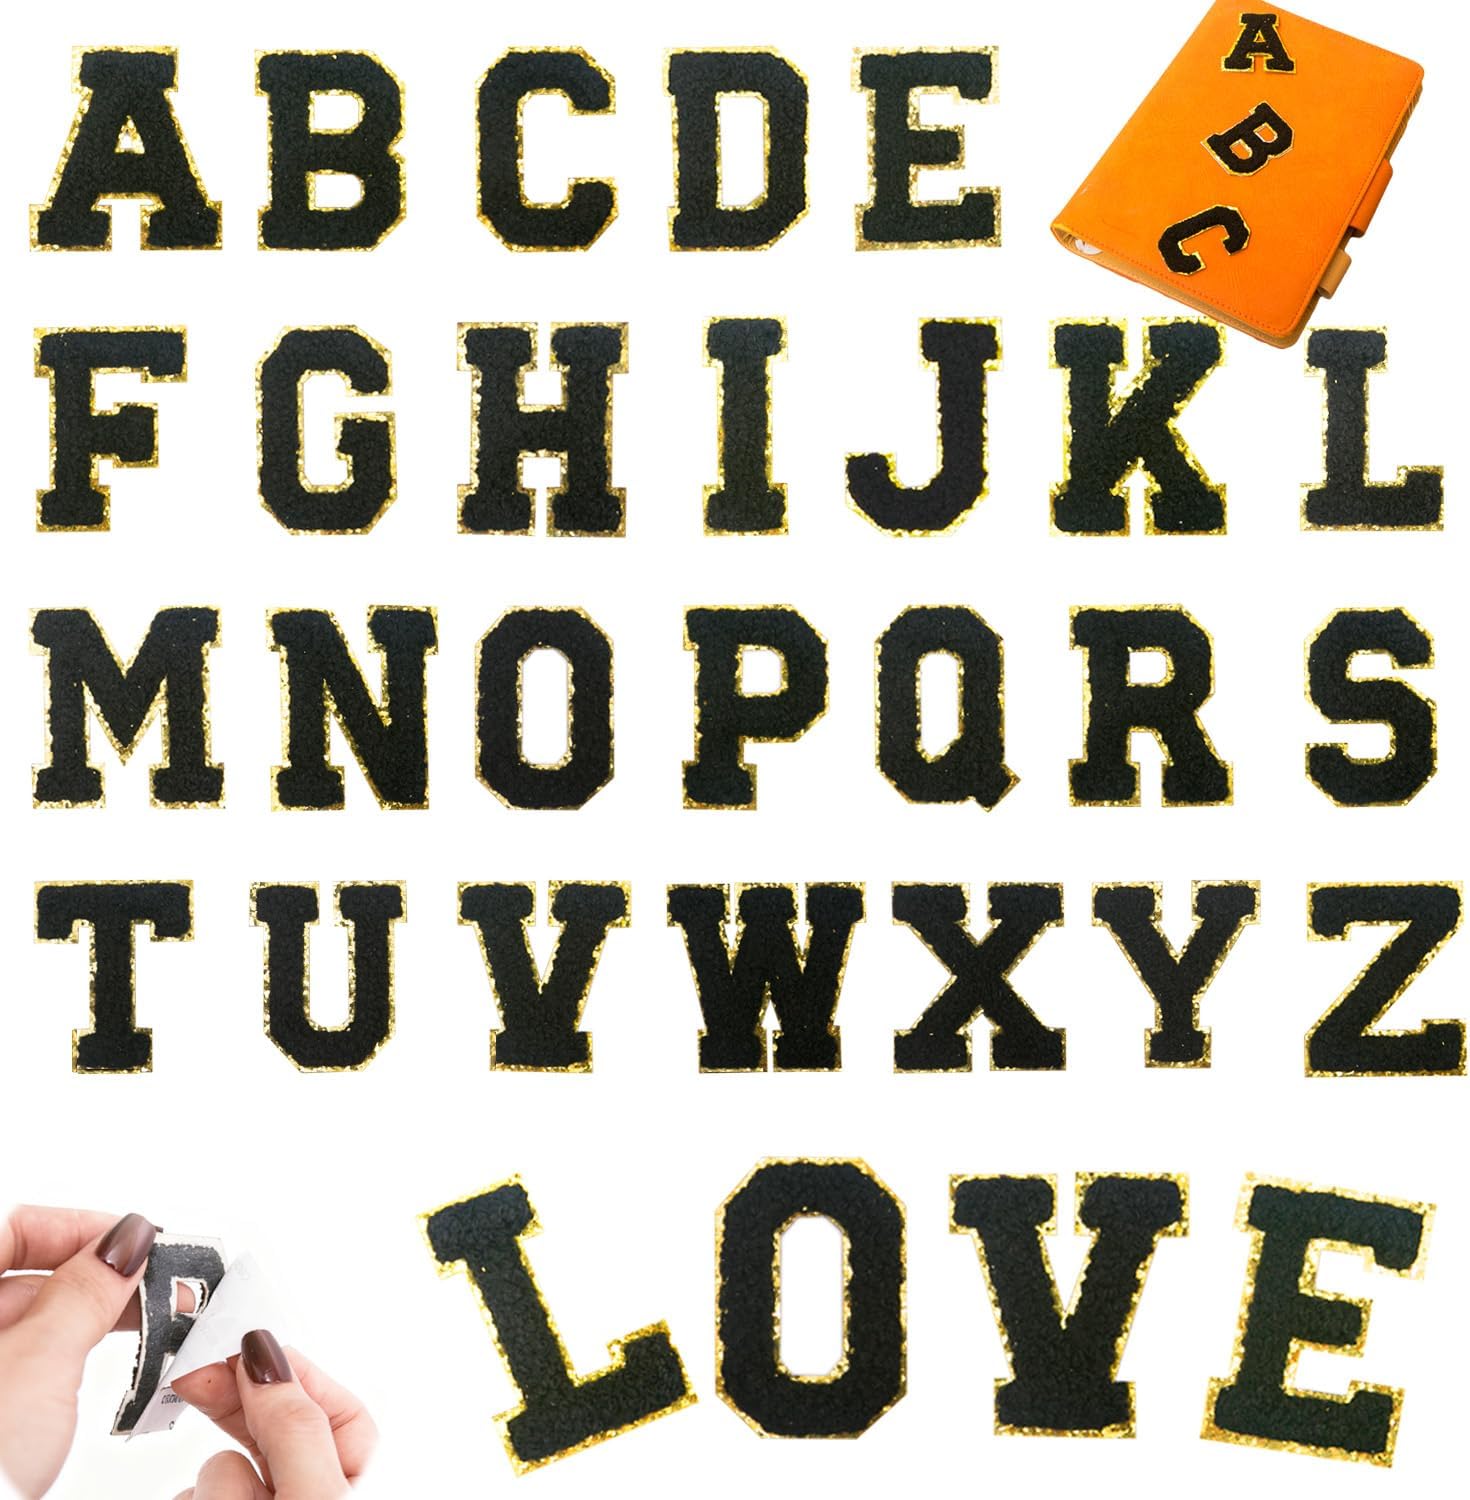
A patch that will not stick is almost always one of seven things, and all seven are fixable. This is the troubleshooting guide we wish every customer had before their first application — because in our experience, the fix takes under five minutes and the patch then lasts for years.
Work through these in order. Start with the two that take thirty seconds each and rule out the rest quickly.
Fix 1: Clean the surface (takes 30 seconds, solves it most of the time)
This is the number one cause of a failed bond and the most commonly skipped step. Adhesive needs to reach the fibre, and both body oils and fabric softener form a film on top of it that the glue cannot penetrate.
- Wipe the area with a cloth dampened with isopropyl alcohol.
- Let it dry completely. Any moisture prevents adhesion.
- Do this for both the garment and the back of the patch.
If the garment has never been washed, it may still carry finishing residue from the factory. Washing it once first can solve a stubborn case.
Fix 2: Press longer and hotter than you think
Most people press for five to ten seconds. That is not enough for most fabrics. The adhesive needs sustained heat to reach its activation point, and a quick tap barely warms the fibre under the patch.
| Fabric | Temperature | Press time |
|---|---|---|
| Cotton / denim / canvas | 150–165°C (300–330°F) | 25–40 seconds |
| Polyester / fleece | 110–130°C (230–265°F) | 10–15 seconds |
| Nylon / acrylic | 110–120°C | 8–10 seconds |
Get the exact figure for your fabric from the iron-on temperature calculator.
Fix 3: Use a barrier cloth
Direct iron contact on chenille does two bad things: it flattens the pile, and it can melt the metallic gold thread into a dull smear. It also means the patch surface can hit a much higher temperature than the fabric underneath.
Always press through a thin cotton cloth. It protects the trim, buffers the heat, and it is the single cheapest insurance in this whole process.
Fix 4: Make sure the fabric is dry
Any moisture — from washing, sweat, rain, or a damp iron — will prevent the adhesive from bonding. This one catches people out because a garment that feels dry can still hold moisture in a heavy fabric like canvas or denim.
Iron the area first to drive off any moisture, then apply the patch.
Fix 5: Give it time to set
You can move a patch thirty seconds after pressing, but the bond keeps strengthening for 24 to 48 hours. Washing or wearing it heavily in that window is a common cause of early failure.
Fix 6: Work on a flat, hard surface
A patch on your lap, on a bed, or on a cushion is only touching the iron at the high points. A patch on a table or a hard floor gets full contact across its whole surface.
Fix 7: Check the iron is actually hot enough
Iron dials are inaccurate and vary between machines. Test yours:
- Set it to cotton.
- Drop a little water on the ironing board and hold the iron just above it for ten seconds.
- No bubbles means below 100°C — far too cool. Instant violent steaming and sputtering means 140°C or above.
You want a steady simmer of small bubbles for cotton, and just the edge of steaming for synthetics.
Diagnose it in 30 seconds
| Symptom | Most likely cause |
|---|---|
| Nothing sticks at all | Dirty surface, or press far too short |
| Corners lift, centre holds | Moved it before it cooled |
| Whole patch peels off evenly | Under-pressed, or the fabric was too thick |
| Held for a day, then fell off | Washed or dried too soon, or too hot |
| Adhesive stuck to the patch but not the garment | Backing not fully removed, or the garment surface is coated |
| Fabric is shiny or stiff under the patch | Too hot for the fabric — the damage is permanent |
What to do when nothing else works
- Give the fabric more texture. On a very smooth or coated surface, a light scuff with fine sandpaper on the bond area (not on the visible face) creates mechanical grip.
- Use a fabric adhesive. A clear permanent fabric glue under the patch, with the patch pressed into it, gives a bond stronger than most heat applications.
- Sew it. Sewing through chenille is straightforward and the result is permanent. Use a short stitch and waxed thread.
Our patch care guide has the repair side of this, and the application guide covers each fabric in full.
Frequently asked questions
Why is my iron-on patch not sticking?
The most common causes are a dirty surface and a press that was too short. Clean the area with isopropyl alcohol, press for the full time for your fabric (25-40 seconds on cotton or denim), always use a cotton barrier cloth, and make sure the fabric is completely dry.
How long do I need to iron a patch for?
25 to 40 seconds per patch on cotton, denim and canvas at 150-165°C. For polyester and fleece, 10 to 15 seconds at a lower setting. Most failed applications are pressed for only five to ten seconds.
Do I need a pressing cloth?
Yes. It protects the metallic gold trim from flattening and dulling, and it buffers the surface temperature so the fabric underneath never spikes above its melting point. A thin cotton cloth is enough.
Will it stick to a waterproof or coated jacket?
Usually not without preparation. Wipe it with isopropyl alcohol to remove the coating, test one letter in a hidden spot, and if it will not hold, sew the patch on. Never iron a coated or laminated garment.
Why does my patch stick to itself but not the fabric?
Either the protective backing was not fully removed, or the fabric surface has a coating or finish the adhesive cannot grip. Peel the backing slowly and check for a slippery film; if there is one, scuff it lightly or use fabric glue.
Can I save a patch that has already lifted?
Yes, usually. Press the lifted area back down through a cotton cloth for 15-20 seconds without pulling on it. If it keeps lifting, apply a small amount of fabric-safe adhesive under the edge, or stitch it down. Full method in our peeling patch guide.
Shop the A–Z chenille letter sets
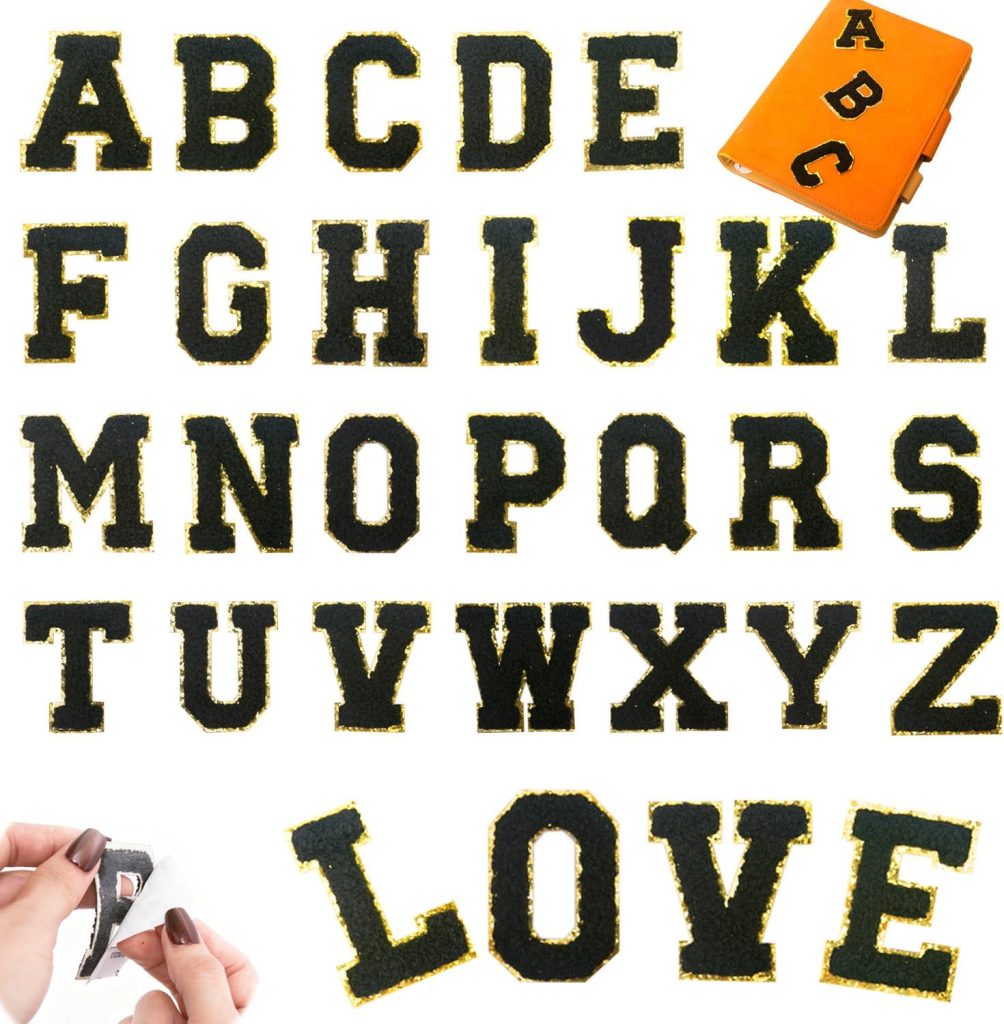
Every set is dense dimensional chenille with a metallic gold embroidered border, a strong self-adhesive backing, and an iron-on layer for permanence. Pick the size that fits your project.
Related reading
- Patch care and troubleshooting — the full hub for lifting, peeling, staining and removal.
- The complete patch application guide — get it right the first time.
- Iron-on temperature calculator — pick your fabric, get the exact heat setting and press time.
- How to wash and dry patches the right way — the care routine that makes patches last.