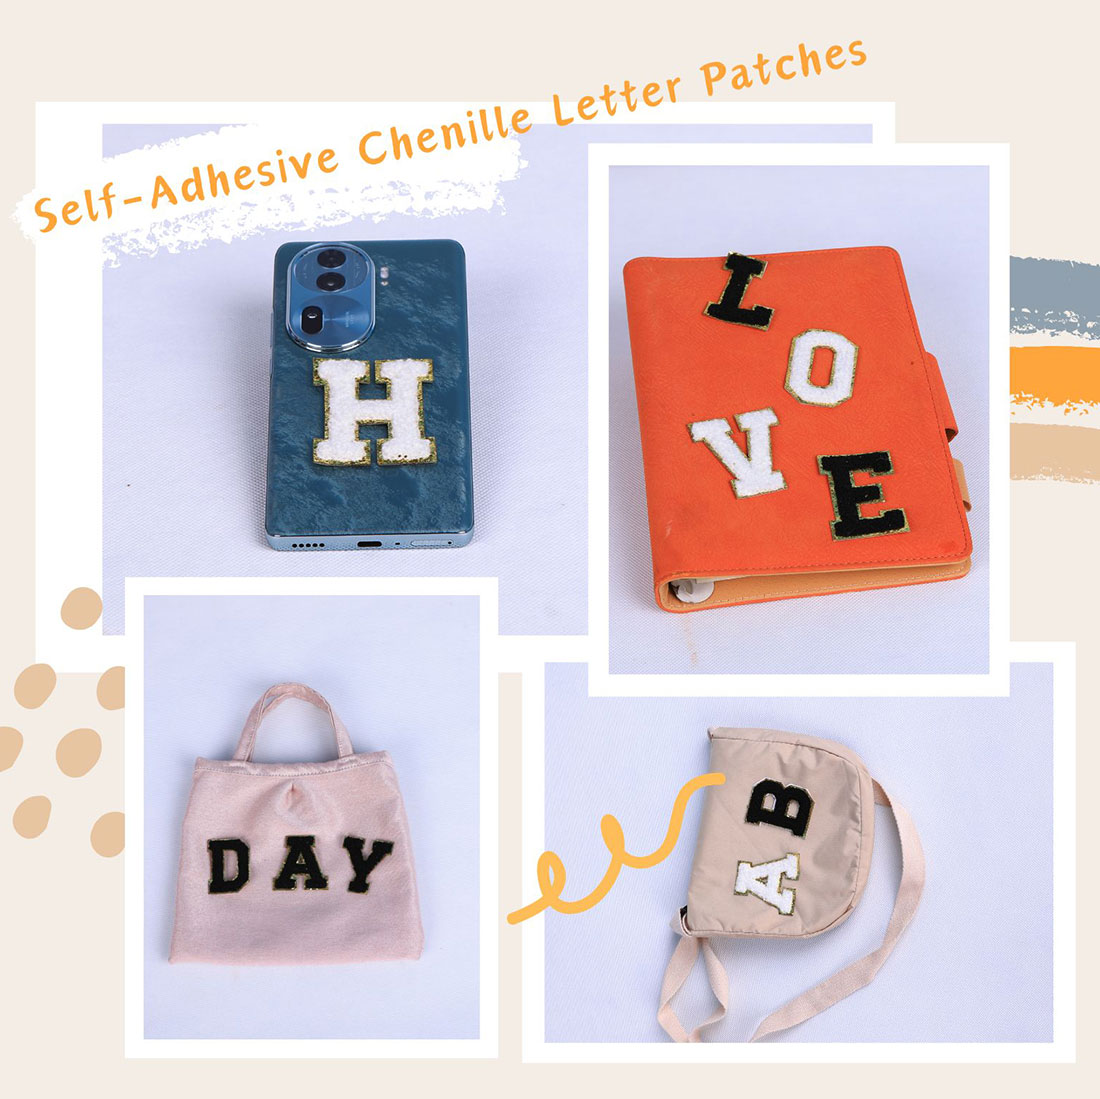
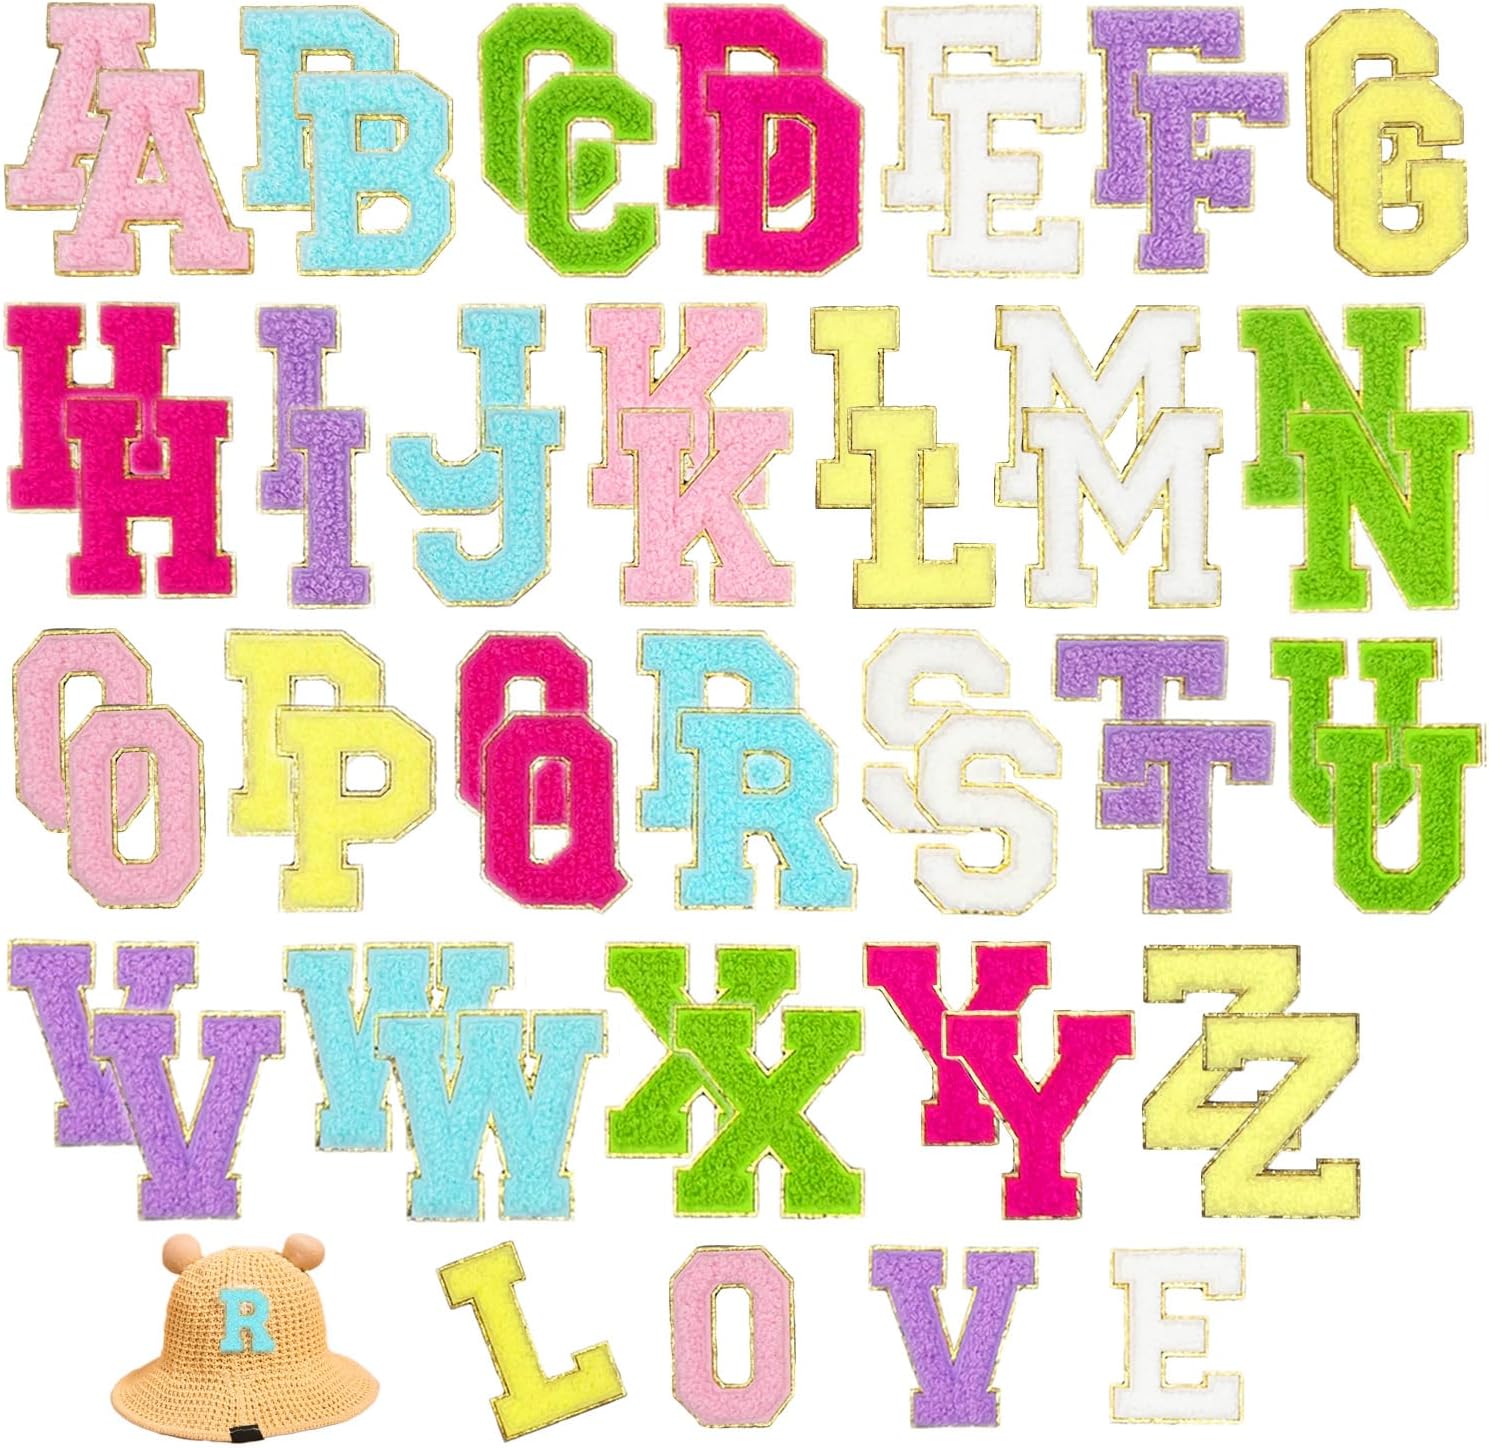
Hat applications are the single most common request we get, and also the one where the difference between a good result and a ruined cap is about fifteen seconds of technique. Hats are curved, layered, and often made of a material that hates heat. The trick is that you almost never press a patch onto the curved crown — you press it onto a flat panel first, or you use the self-adhesive layer and skip heat entirely.
Here is what actually works on each part of a cap, and the two-panel method that gives you a perfectly straight word on a curved surface.
The three parts of a hat, and how each behaves
| Part | What to do | Method |
|---|---|---|
| Front panel | Best placement — flat, structured | Press directly, 15–20s |
| Side panels | Slightly curved, still workable | Press, then press the seam again |
| Curved crown | Hardest — no flat surface | Two-panel method below |
| Sweatband | Do not patch | Heat + sweat = permanent mark |
| Bill / brim | Usually a stiff composite | Use the adhesive layer only |
The two-panel method for a curved crown
This is the technique that turns a wobbly attempt into a straight word. It works because it removes the curve from the equation entirely while you press.
- Split the cap. Most six-panel caps have a seam or eyelet line you can work with. If it does not, use a hat that does — this method is much easier on a structured cap.
- Lay the panel completely flat, inside face up, on a hard surface. Weight it down at the edges if the fabric is springy.
- Position the patch. Use the peel-and-stick backing to hold it while you check the spacing. Measure from the centre seam outward rather than eyeballing from the left, so the word ends up centred.
- Press from the inside. The panel is now flat and thin, so 15–20 seconds at 150°C (300°F) is plenty. Put the cotton barrier cloth over the patch, and press the fabric from underneath so the pile of the chenille is not crushed against the iron.
- Let it cool flat for 30 seconds.
- Repeat for the other panels, then let the cap sit flat for a few hours before wearing it, so the adhesive can set undisturbed.
Settings by cap material
| Material | Temperature | Press time |
|---|---|---|
| Cotton / twill | 150–165°C (300–330°F) | 15–20 seconds |
| Polyester / nylon | 110–130°C (230–265°F) | 10–15 seconds |
| Wool blend | Low–medium (110–140°C) | 15 seconds, no steam |
| Acrylic / faux wool | Low (110–120°C) | 10 seconds — acrylic melts |
| Leather | Do not iron directly | See the leather guide |
Placement: where letters actually look right
- One letter, centred above the brim — the classic. A single 2.17-inch letter reads cleanly from across a room and never looks crowded.
- Two or three letters — space them about a quarter-inch apart. Chenille has real depth, and letters packed too close read as a blur.
- A full word or short name — three to five letters is the practical maximum on a front panel. Beyond that, use the crown panels.
- Never straddle a seam on the front panel — the two halves will sit at different angles and the word will look crooked.
Our varsity culture guide goes deeper into placement and the history of the letter look.
No-heat application on a cap
YTONN patches have a strong self-adhesive backing that bonds without heat. On a curved crown, a cap with a synthetic shell, or a hat you must not risk, this is the right method:
- Clean the surface with a dry cloth — no fabric softener, no oils.
- Peel the backing and press the patch into place with your thumb, working from the centre outwards.
- Press each letter for 30 to 60 seconds with firm thumb pressure.
- Set the cap flat under something for a few hours, or sleep in it — pressure overnight gives the best bond.
Adhesive-only bonds are weaker than heat-activated ones but they are fully removable and will not scorch a cap. Read why a patch is not sticking if the bond feels weak.
Common mistakes
- Pressing directly on the curve. There is no flat contact, so only the centre of each letter actually bonds. Use the two-panel method.
- Ironing a brim. Bills are usually a stiff plastic composite that will melt or warp. Use the adhesive layer only.
- High heat on polyester. Polyester glazes and can get a permanent shiny mark. Drop to the low setting and shorten the press.
- Patching the sweatband. Heat plus sweat leaves a permanent mark that does not wash out.
- Wearing the cap immediately. The bond needs a few hours to fully set.
Frequently asked questions
Can you iron patches on a hat?
Yes, on the front and side panels. Use 150-165°C (300-330°F) for cotton twill caps with a 15-20 second press under a thin cotton cloth. For the curved crown, use the two-panel method: split the cap, press each panel flat, then reassemble.
How do you put letters on a hat without an iron?
YTONN patches have a self-adhesive backing that bonds without heat. Peel the backing, position the letter, and press firmly with your thumb from the centre outwards for 30-60 seconds. Then set the cap flat under weight for a few hours. This method will not scorch any material and is fully removable.
Can you put patches on a polyester cap?
Yes, but drop the heat. Use 110-130°C (230-265°F) and press only 10-15 seconds. Polyester can glaze and develop a permanent shiny mark at cotton-setting temperatures. A cotton barrier cloth is essential.
Should I press a patch on the brim of a cap?
No. Most brims are a stiff plastic composite that will melt or warp under an iron. Use the self-adhesive backing on brims, or sew the patch on.
How long should I wait before wearing a patched hat?
At least a few hours, ideally overnight. The adhesive continues to strengthen for about 24 to 48 hours. Wearing the cap immediately or washing it soon after application is the most common reason the bond fails.
Will patches come off a hat in the wash?
Heat-activated patches on cotton caps survive many gentle washes if you wash cold, skip fabric softener, and air dry. Adhesive-only patches on a cap should be spot cleaned rather than machine washed.
Shop the A–Z chenille letter sets
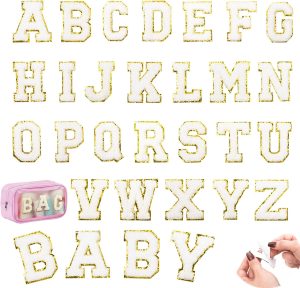
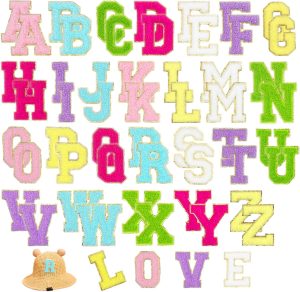
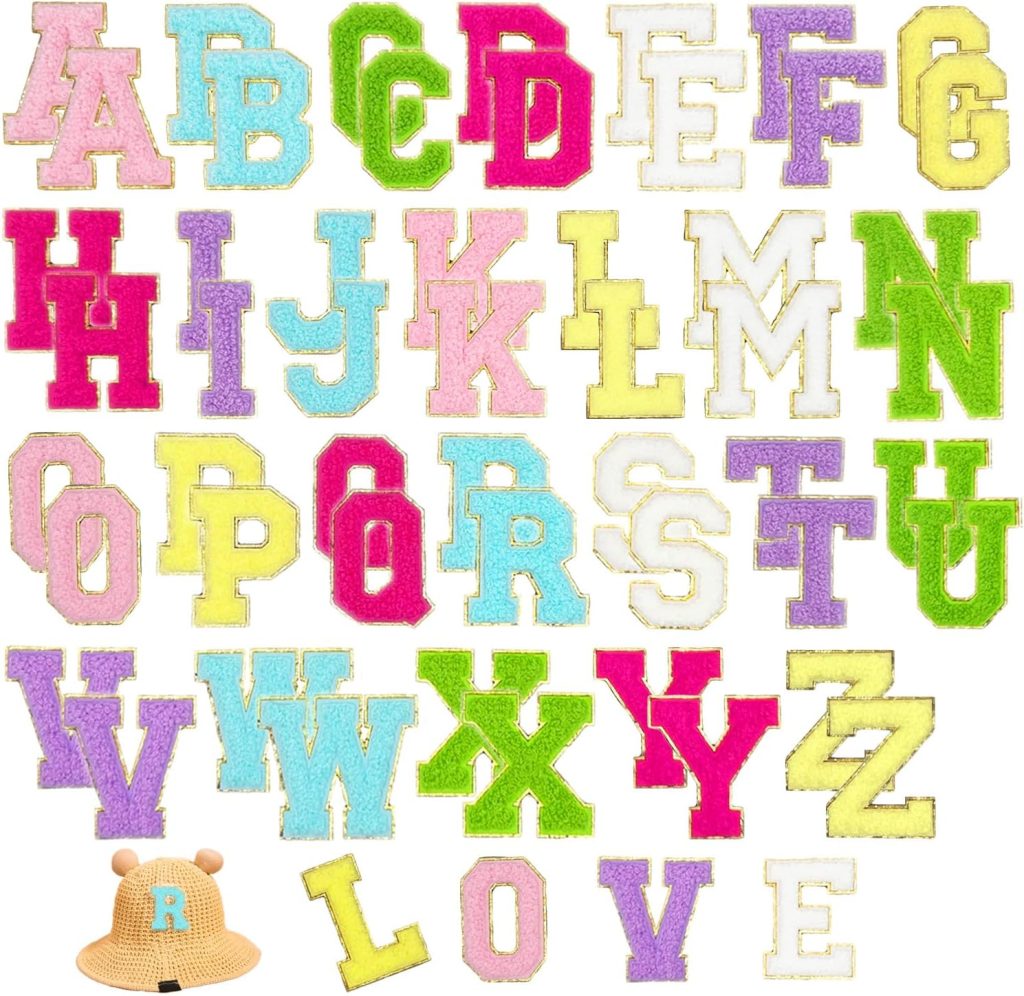
Every set is dense dimensional chenille with a metallic gold embroidered border, a strong self-adhesive backing, and an iron-on layer for permanence. Pick the size that fits your project.
Related reading
- The complete patch application guide — every fabric, every method, one page.
- Patch care and troubleshooting — what to do when a patch lifts, peels, or stains.
- Iron-on temperature calculator — pick your fabric, get the exact heat setting and press time.
- What is chenille embroidery? — how the fuzzy yarn and gold trim are made.