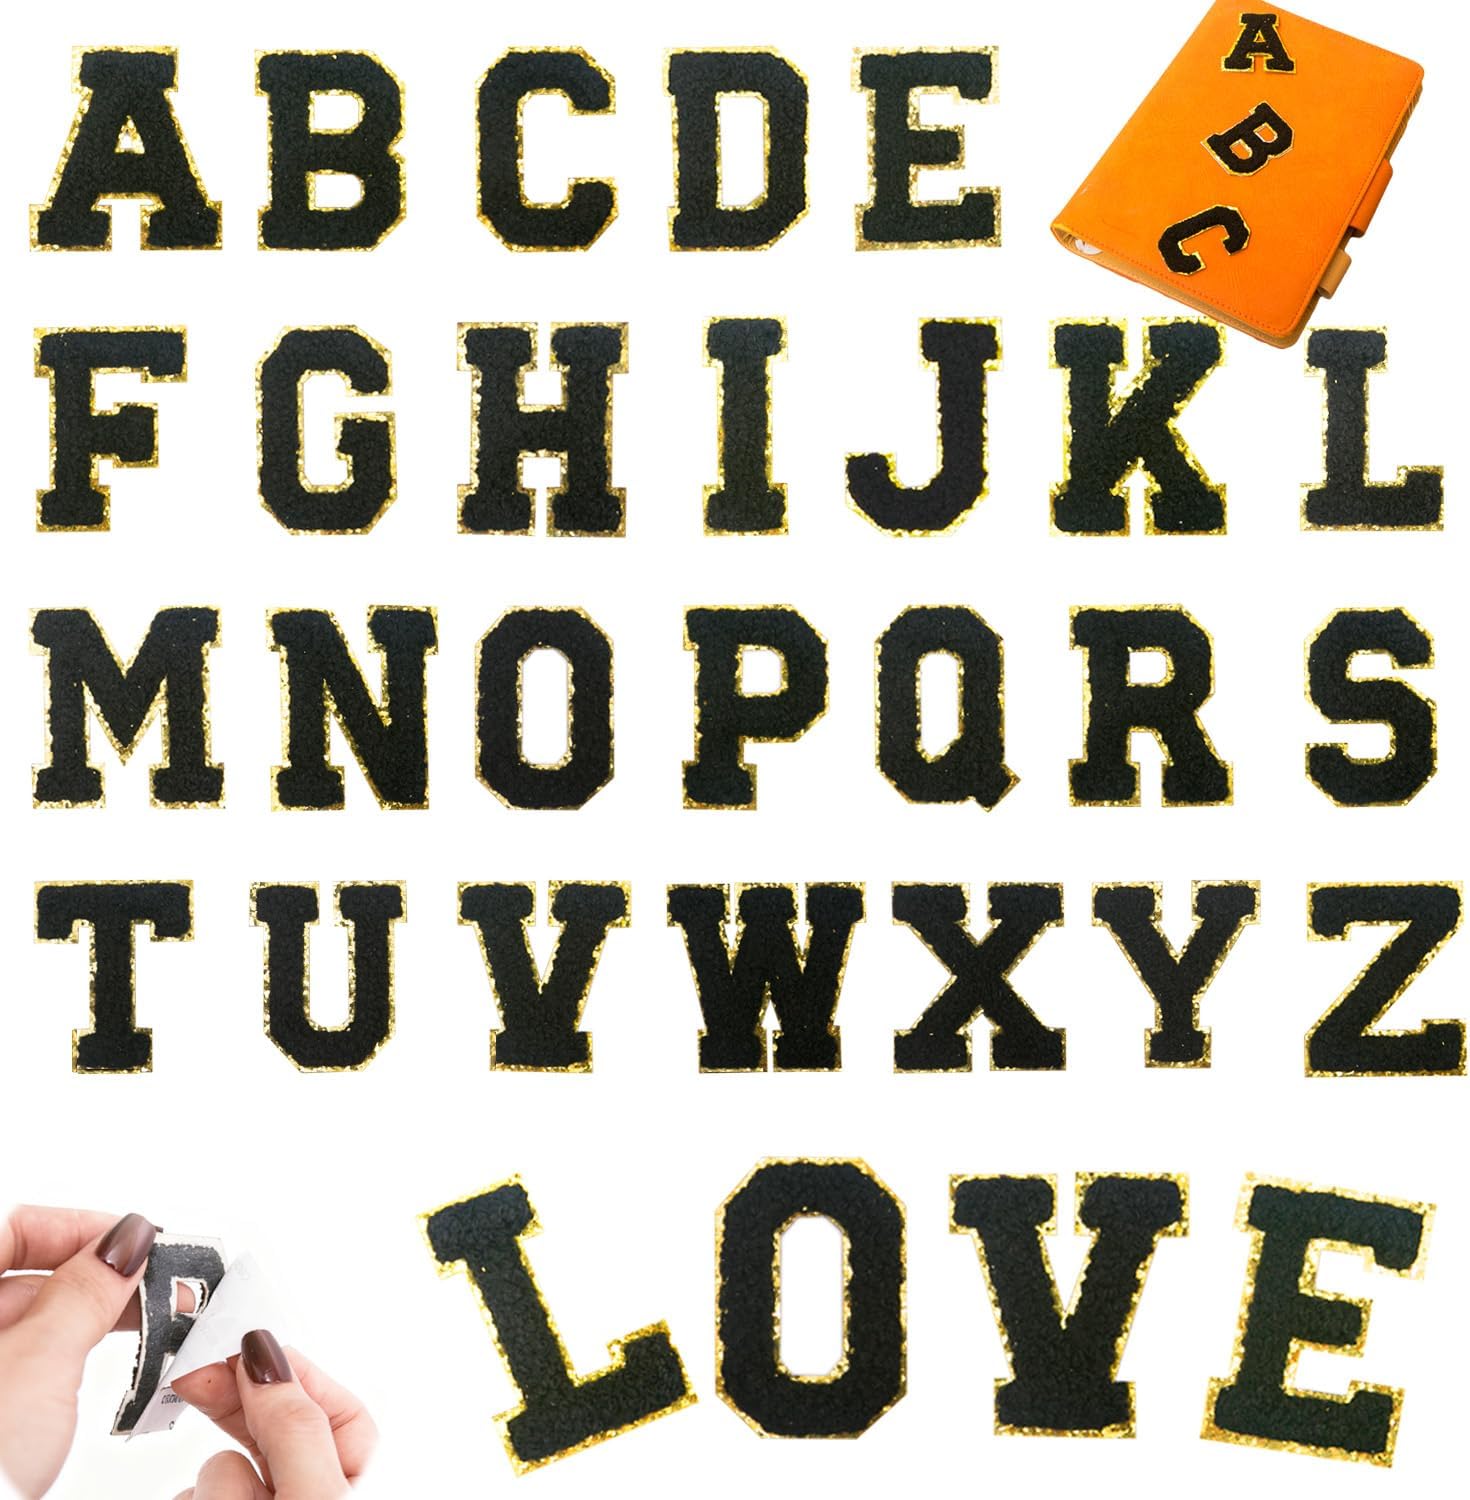
The short answer is: do not press iron-on patches directly onto leather. Leather is not a woven fabric. It is a hide, and heat applied to the surface of leather changes the hide itself — it dries the oils out, darkens and stiffens the surface permanently, and on finished leather it can blister the finish or leave a shiny scorched halo around the patch. You cannot undo any of it.
That does not mean you cannot put chenille letter patches on a leather jacket. It means the adhesive route and the sewing route, not the iron route.
Why heat is a problem on leather
| Leather type | What heat does | Verdict |
|---|---|---|
| Full-grain / aniline | Burns through, darkens, permanently stiffens | Never iron |
| Top-grain / finished | Finish blisters, edges crack, shine halo | Never iron |
| Suede / nubuck | Nap flattens and mats permanently | Never iron |
| PU / faux leather | Synthetic layer melts and peels | Never iron |
Method 1: self-adhesive only (works on smooth leather)
This is the method to use on a smooth leather or faux-leather panel — a bag, a jacket back panel, a clean area between seams.
- Work on a flat surface with the leather side up. A cushion or a folded towel makes a good shaping pad.
- Clean the area. Wipe with a dry cloth, then with a cloth lightly dampened with isopropyl alcohol. Let it dry completely. Skip the alcohol on suede — it darkens the nap.
- Test the adhesive. Press one letter down in a spot that will be hidden, wait an hour, and try to lift it. If it leaves no mark, continue. If it lifts easily and cleanly, the leather has a coating or finish the adhesive cannot grip, and you should sew instead.
- Peel and position the patch. Check the alignment carefully — on a smooth surface the adhesive grabs quickly once it touches.
- Press with your thumb from the centre outwards for a full minute per letter.
- Place the item flat under weight for 24 to 48 hours.
Method 2: sew it on (the permanent option)
Sewing is the right answer for leather jackets, suede, and anything that will be washed or worn hard. It is also easier than it sounds on chenille, because the looped pile gives the needle a bit of grip.
- Position the patch and hold it in place with a few pieces of low-tack tape, or with tiny clips.
- Use a leather needle or a sharp 90/14 needle. A regular needle blunts quickly on hide.
- Thread with waxed polyester or nylon thread — it will not rot or stretch like cotton on leather.
- Stitch around the full perimeter of each letter, about 2–3 mm inside the gold trim edge. Use a short stitch length and push the needle through the leather hole each time so you do not split the fibres.
- Knot on the hidden side. Leather does not hold a knot well on the face side, so pass the thread through the backing a couple of times before trimming.
- Skip the iron entirely. You do not need heat at all once you are sewing.
Method 3: sew plus adhesive (best for high-wear spots)
For a leather jacket elbow, a bag that gets grabbed daily, or anything that will be washed, combine both. Apply the self-adhesive layer first to do the positioning work, then stitch around the perimeter. The adhesive holds it in place while you sew, and the stitching carries the long-term load.
Where to put patches on a leather jacket
- The back — the classic varsity placement, and the flattest area of a leather jacket. Sew it; it will never lift.
- The upper chest, on the left — a single letter works well here and the leather is usually flat and unreinforced.
- A sleeve — avoid if possible. Sleeves flex constantly, which will lever any adhesive bond loose, and the seam adds thickness.
- A leather bag panel — the smoothest leather surface you will own, and the adhesive method usually works well here.
- A collar or lapel — too structured and too creased. Skip it.
Removing a patch from leather
This is the reason to sew rather than glue where you can. Patches on leather are far harder to remove than patches on cotton:
- Adhesive patches: peel slowly at a low angle while cold. Do not pull straight up — that takes the leather surface with it. If residue remains, dab it with a leather-safe cleaner and leave it to lift on its own. Never use a heat gun or hairdryer on leather; it will set the adhesive into the hide.
- Sewn patches: unpick the stitches. Expect a small row of needle holes. This is the price of a permanent leather application, and it is why we recommend sewing on a jacket you care about.
Full removal guidance is in how to remove an iron-on patch.
Special case: PU and faux leather
Faux leather has a plastic coating over a fabric backing. Two things follow:
- Never iron it — the coating melts and the layer delaminates.
- The adhesive struggles because plastic is smooth and non-porous. Clean it with an alcohol wipe first, which removes the silicone hand-feel coating and gives the adhesive something to grip. If a test letter will not hold, sew it.
Common mistakes
| Mistake | Result | Fix |
|---|---|---|
| Ironing directly onto leather | Scorched, darkened, stiff hide | Adhesive or sewing only |
| Ironing suede | Matted, permanently flattened nap | Sew only |
| Skipping the test letter | Adhesive lifts off or stains | Test in a hidden spot first |
| Pulling an adhesive patch off fast | Leather surface peels with it | Peel slowly, cold, low angle |
| Using a hairdryer to remove | Adhesive sets into the hide | No heat for removal |
Frequently asked questions
Can you iron patches on leather?
No. Heat permanently alters leather — it darkens the hide, dries out the oils, stiffens the surface, and can blister the finish or leave a shiny scorched halo around the patch. Use the self-adhesive layer on smooth leather, or sew the patch on. Never apply a heat gun or hairdryer to leather either.
What is the best way to attach patches to a leather jacket?
Sewing. Use a leather or sharp 90/14 needle and waxed polyester or nylon thread, stitching around the perimeter of each letter about 2-3 mm inside the gold trim. For extra hold, apply the self-adhesive layer first to position the patch, then stitch through it.
Can you use iron-on patches on faux leather?
Adhesive only, never heat. PU and PVC coatings melt and delaminate under an iron. Wipe the surface with isopropyl alcohol first to remove the silicone coating so the adhesive can grip, test one letter in a hidden spot, and sew if it will not hold.
Do patches work on suede?
Adhesion is poor on suede and nubuck because the nap gives no flat surface to bond to. Sewing is the only reliable method. Never iron suede — the nap flattens and mats permanently.
How do I remove a patch from leather without damaging it?
Peel adhesive patches slowly at a low angle while the leather is cold, and never pull straight up or use heat, which can take the surface with it or set the adhesive into the hide. Sewn patches come off by unpicking the stitches, leaving small needle holes.
Why is my patch not sticking to my leather jacket?
Leather has natural oils and often a surface coating that prevents adhesion. Clean it with isopropyl alcohol, test a letter in a hidden spot, and press firmly for a full minute. If it still will not hold, the leather is too smooth or heavily finished for adhesive — sew it on.
Shop the A–Z chenille letter sets
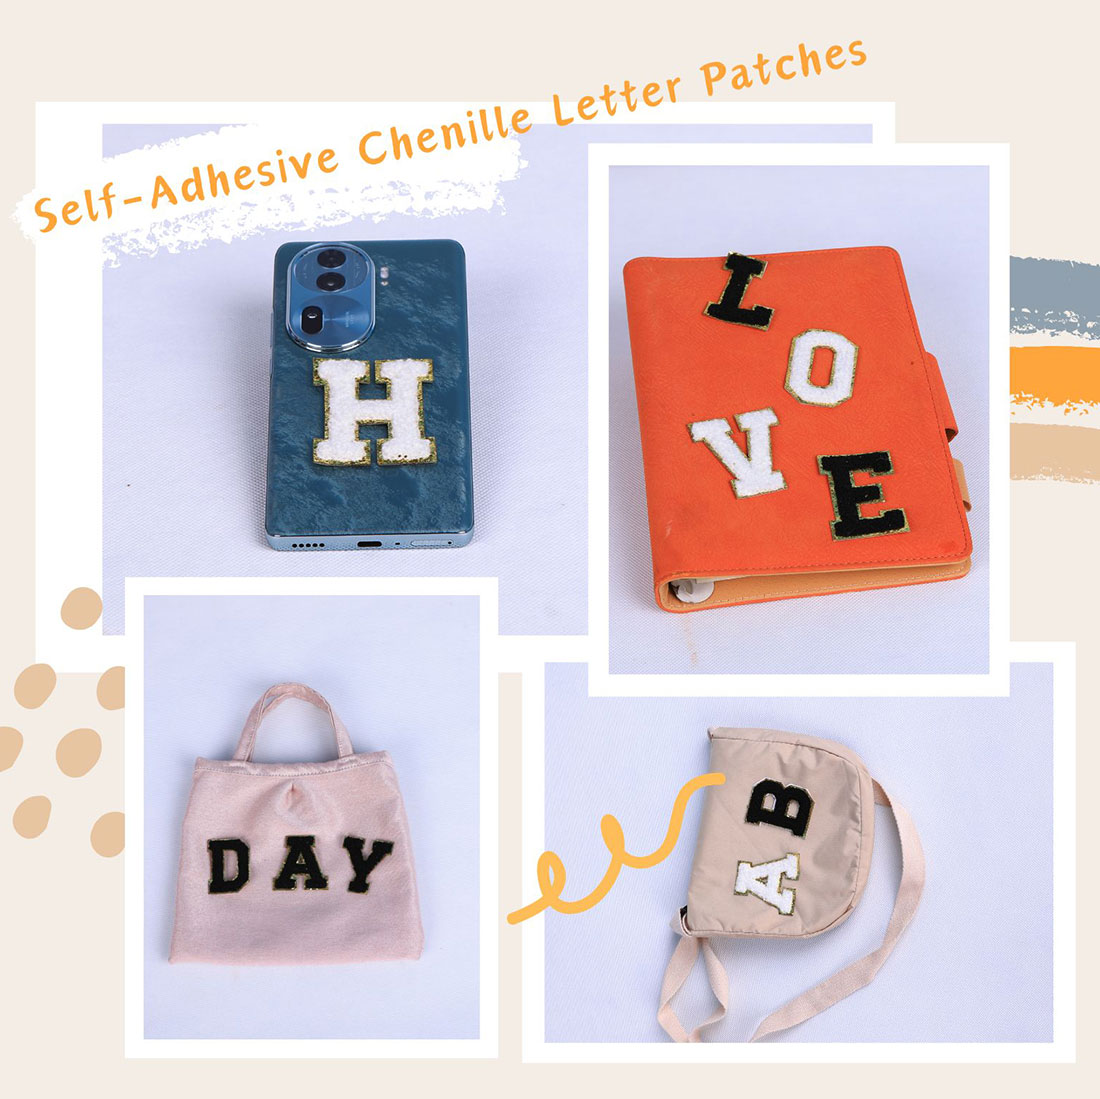
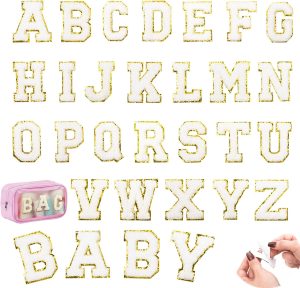
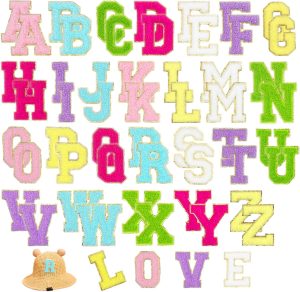
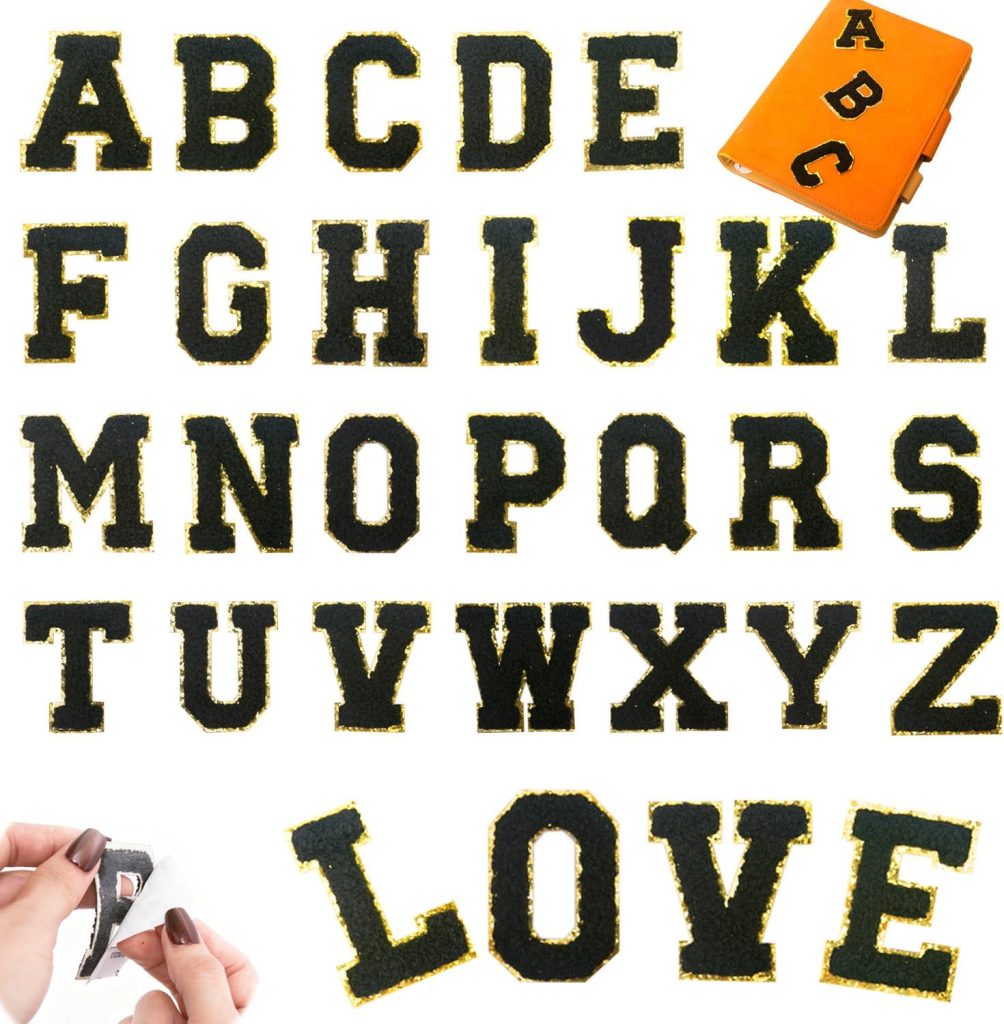
Every set is dense dimensional chenille with a metallic gold embroidered border, a strong self-adhesive backing, and an iron-on layer for permanence. Pick the size that fits your project.
Related reading
- The complete patch application guide — every fabric, every method, one page.
- Patch care and troubleshooting — what to do when a patch lifts, peels, or stains.
- Iron-on temperature calculator — pick your fabric, get the exact heat setting and press time.
- What is chenille embroidery? — how the fuzzy yarn and gold trim are made.