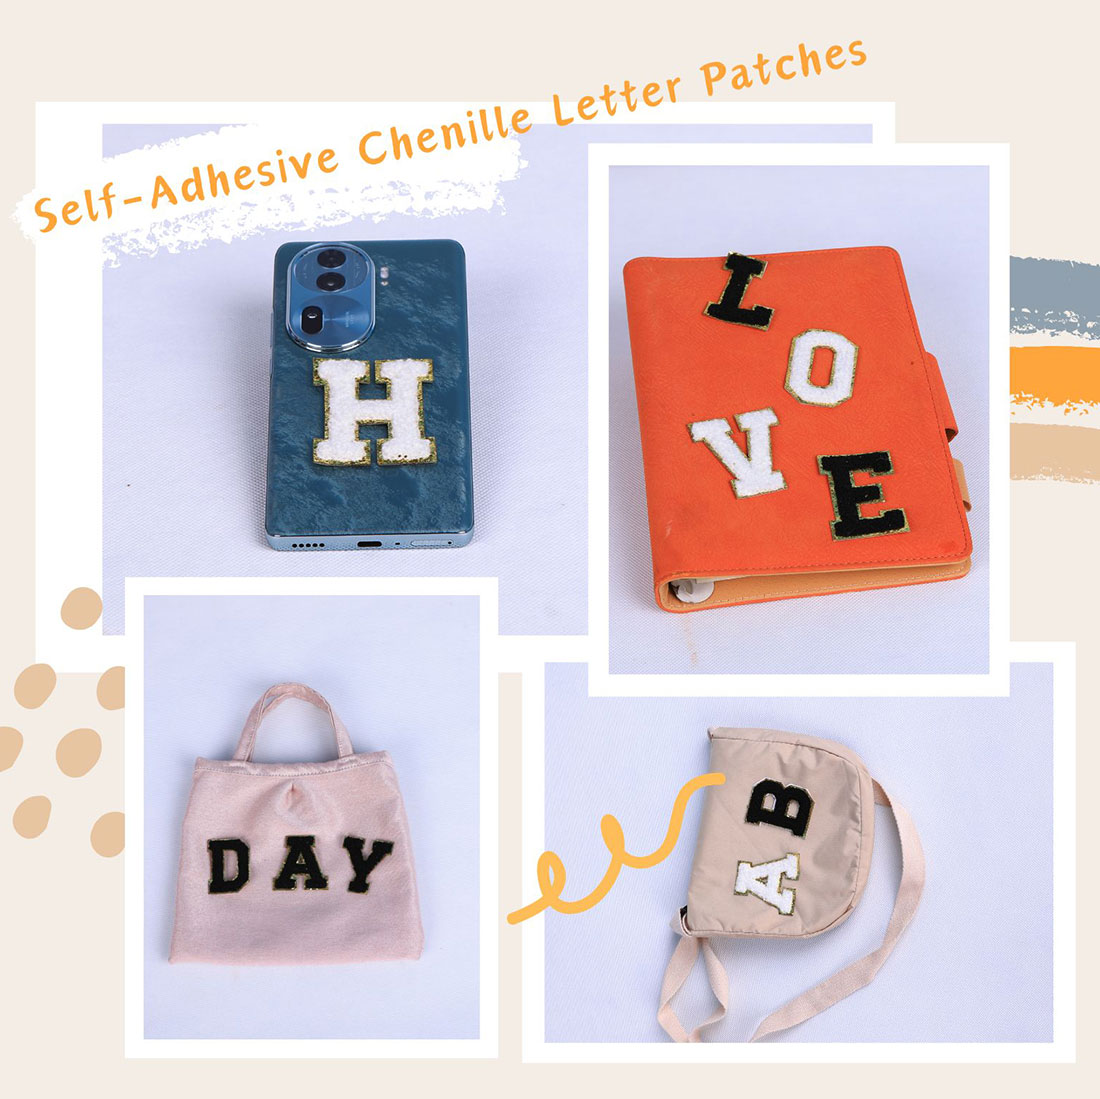
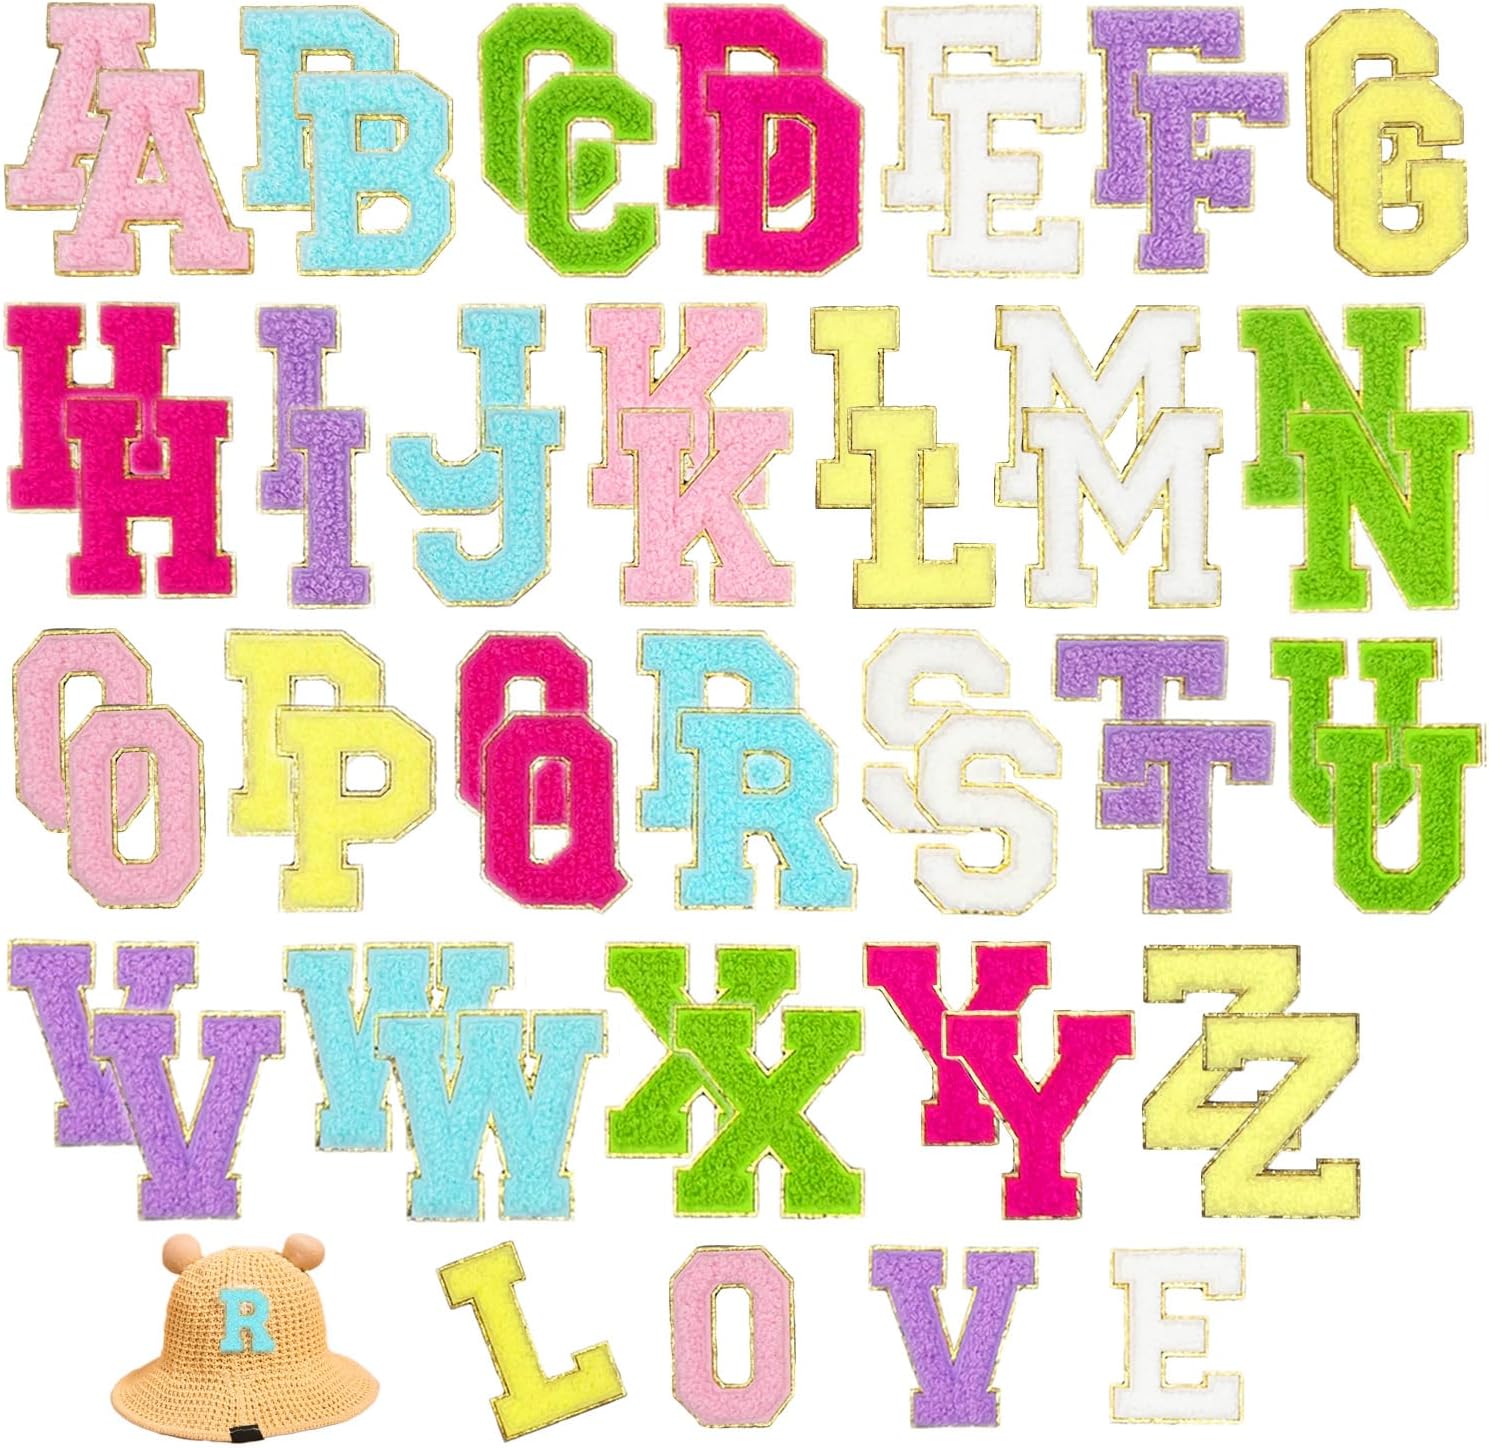
If you are new to letter patches, start on a bag. It is the easiest, highest-impact project there is: a flat panel with no body to fit, no curve to fight, and a name on the front reads like signage. I hand people a tote and a set of letters and ten minutes later they have something that looks like it came from a monogram studio. Here is how to do it without wasting letters.
Why bags are the ideal starter project
A garment has shoulders, seams, stretch and a body shape that all fight you. A tote front is a rectangle of flat canvas. You centre the name, press once, done. There is no “does this fit my frame” question, which is why I use bags to teach kids and first-timers — the success rate is close to one hundred percent.
The best spots
- Tote front panel: the classic. A name, a word, or two initials centred low or high. This is the one I recommend to everyone.
- Backpack flap: a single initial or a short name on the top flap — visible without taking the bag off.
- Duffel / gym bag end: one bold initial on the rounded end panel (keep it to the flattest part).
- Pencil case / pouch: a single letter, the cheapest personalisation there is.
How many letters
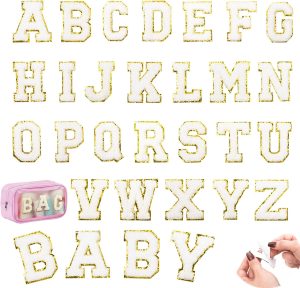
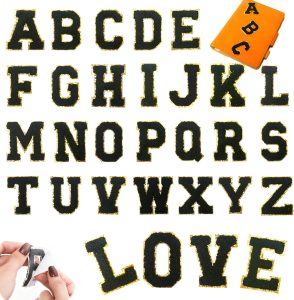
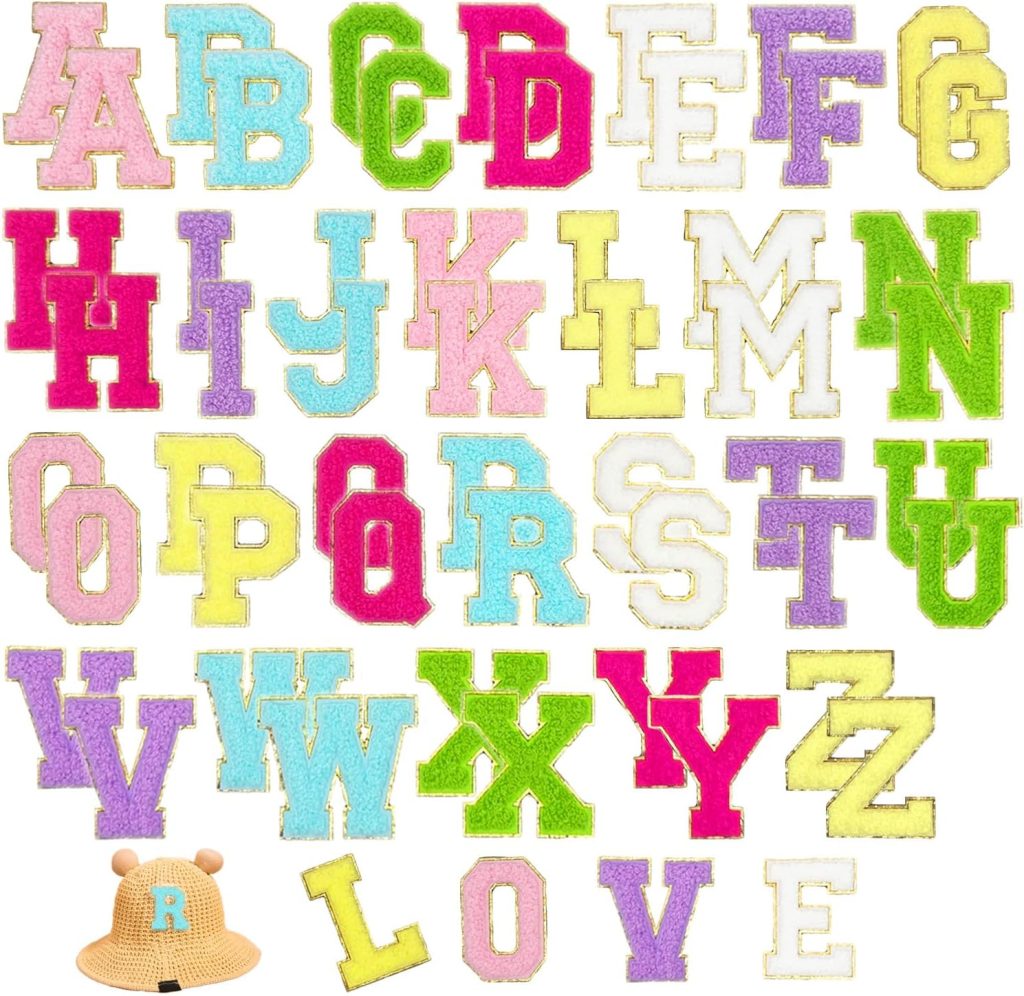
A full name on a tote (up to about eight letters) looks intentional. On a backpack flap, keep it to one or two initials — a long name on a flap looks cramped. Remember a 52-piece multicolor set gives two of every letter in five colours, so a name with a repeat (like the two A’s in CASSANDRA) won’t leave you short. A 26-piece single-colour set is enough if your name has no repeats.
Fabric matters more than you think
Canvas totes are perfect — the adhesive grips, the heat sets, the corners stay flat. Cotton backpacks are nearly as easy. Nylon or polyester backpacks are the trap: the surface is slick and the adhesive leans harder on the heat step. Press longer and hotter through a cloth, and accept it is slightly less permanent than on canvas. Never put letters on a mesh pocket or a curved side — those corners lift on the first week.
The placement trick
Centre the word on the flat panel, not on the bag as a whole. Lay the bag flat, find the flattest rectangle, and centre the name in it with a ruler. Tape the letters down, step back, check it is level, then press. The adhesive means they won’t slide while you heat — but they will sit exactly where you taped them, so tape straight.
Application, bag version
Peel, stick, hold, cover with cloth, warm iron for ten seconds, no steam. Bags take heat happily, so you can be a touch more generous with the press than you would on a delicate tee. Let it cool. That is the whole job.
Mistakes I see on bags
- Curved side panel. It looks like prime real estate until the corners lift. Stay on the flat front.
- Overloading. A name plus a slogan plus a date is too much on a tote. One element reads as designed; three read as a clearance rack.
- Wrong colour on a coloured bag. A navy letter on a navy tote is invisible. Check the colour guide before you commit.
Frequently asked questions
Can you put letter patches on a tote bag?
Yes, and a tote front is the easiest high-impact project there is: a flat panel, no body to fit, a name reads like signage. Centre the word on the flat front panel, tape it level, peel-stick-press, and you are done in minutes.
What is the best spot for letter patches on a backpack?
The top flap, with a single initial or a short name. It is visible without taking the bag off and it is flat, so the corners stay down. Avoid curved side panels and mesh pockets, where letters lift within a week.
Do letter patches stay on nylon bags?
They stay less well than on canvas. Nylon is slick, so the adhesive leans harder on the heat step: press longer and hotter through a cloth, and expect slightly less permanence. Canvas and cotton bags are the reliable choice.
How many letters fit on a tote bag?
Up to about eight letters for a full name on a standard tote front. A backpack flap should stay to one or two initials. A 52-piece multicolor set covers repeats; a 26-piece single-colour set is enough for a name with no repeated letters.
Are self adhesive patches good for bags?
They are ideal. The peel-and-stick backing holds the letters exactly where you tape them while you heat, so a bag project is nearly impossible to mess up. Use the iron step to lock them for good.
Can I wash a tote with letter patches?
Yes. Wash the bag cold and inside out, and skip the dryer heat on the trim. A properly pressed patch holds through many washes; if a corner lifts, a ten-second re-press through cloth puts it back.
What bags should I avoid patching?
Anything with a heavy curve, a zip across the panel, mesh, or a waterproof coated surface. Flat canvas and cotton panels only. Leather bags should be sewn rather than stuck if you want them to stay.
Shop the A–Z self-adhesive chenille sets
Dense dimensional chenille with a metallic gold embroidered border, a peel-and-stick adhesive backing, and an iron-on layer for permanence. Pick the set that fits your project.
Related reading
- Letter patches for clothes — the umbrella guide
- Letter patches for hats — one bold initial
- Letter patches for jackets — varsity placement
- Letter patches for jeans — pocket and hem
- Letter patches for hoodies — chest and sleeve
- Self-adhesive chenille sets — the peel-stick-press A-Z set
- Letter patch types & uses — chenille vs embroidered vs iron-on
- All chenille letter sets — the colourways side by side
- The complete application guide — every fabric, every method
- Per-garment formulas — denim, hoodies, totes, caps, sneakers
- Creative placement ideas — fourteen spots past the chest
- Varsity letter guide — placement, size and spacing
- Preppy letter-patch style — the Ivy League look, decoded
- How to decorate clothes with patches — a starter walkthrough
- Colour combination guide — what base plus what letter reads