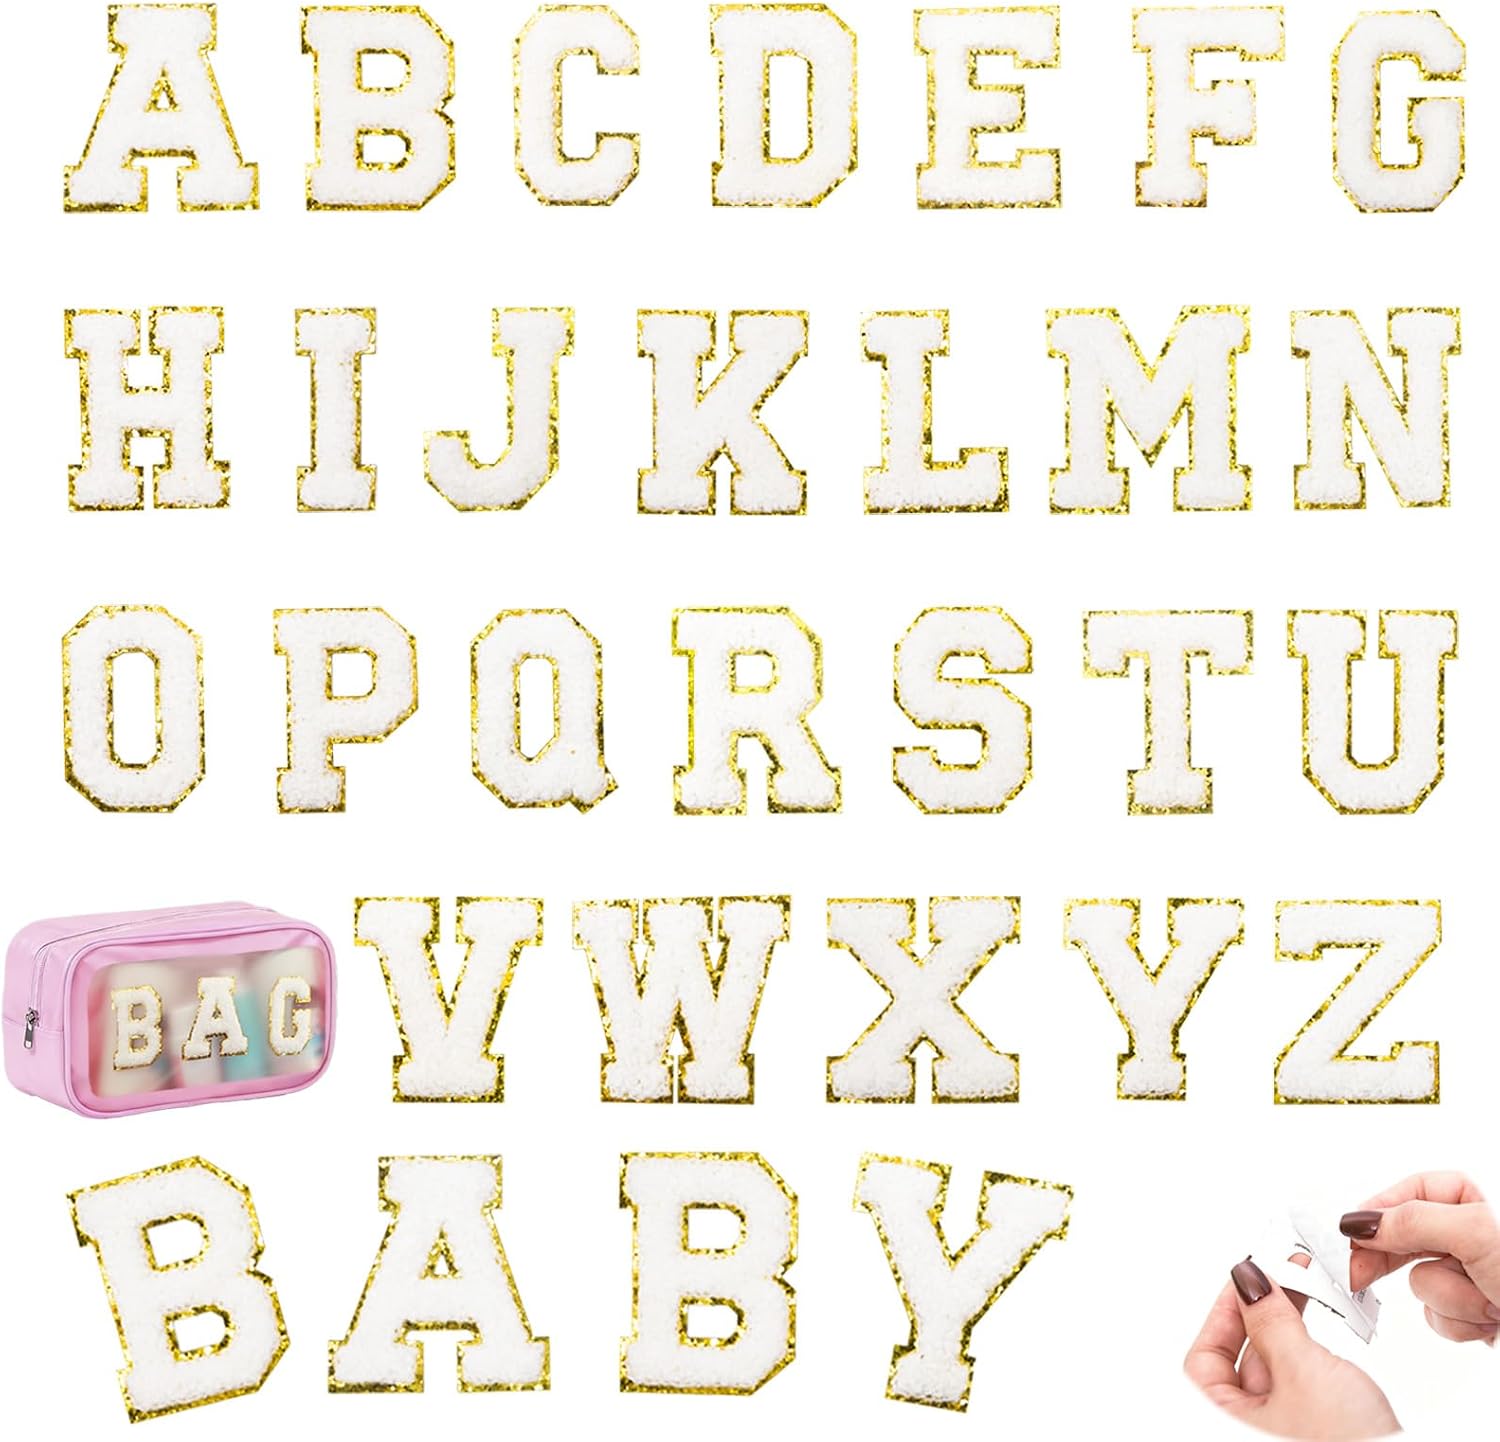
A peeling patch is usually a warning, not a death sentence. If you catch it while only one edge has lifted, there is a good chance you can press it back down and it will hold for years. What you must not do is pull it off, because every peel you create destroys more of the remaining bond.
This guide walks through repairing a lifted patch, from the easy re-press to the honest decision that it is time for a new one.
First, work out how bad it is
| State | What it looks like | Fix |
|---|---|---|
| Stage 1 | One corner lifting, rest solid | Re-press — works most of the time |
| Stage 2 | Half the patch lifting, adhesive still tacky | Re-press plus fabric glue |
| Stage 3 | Patch loose, adhesive dead or gone | Remove and reapply, or stitch down |
| Stage 4 | Adhesive residue all over the garment | Clean the residue, then reapply |
Stage 1 repair: re-press it
- Lay the garment flat on a hard surface, with the lifting area supported from underneath so it is not stretched.
- Do not pull the lifted corner down. Gently lay it back into place with your fingertip. If it curls back up on its own, the adhesive underneath is already dead — go to stage 2.
- Place a thin cotton cloth over the whole patch, not just the lifted edge. You want even pressure across the whole thing.
- Press for 20–30 seconds at the correct temperature for the fabric (150–165°C for cotton and denim).
- Cool for 30 seconds without moving it.
- Check the bond by gently pressing a fingertip along the previously lifted edge. If it does not lift, you are done.
- Give it 24 hours before washing, and this time follow the cold, inside out, low dry routine.
Stage 2 repair: add fabric adhesive
When the adhesive has lost its grip but the patch still has most of its hold, a clear permanent fabric glue under the lifted area restores it — and often makes it stronger than the original.
- Lift the edge only as far as you need. A few millimetres is enough to get the glue underneath. If the patch has already peeled halfway, you are probably at stage 3.
- Apply a thin line of clear liquid fabric adhesive (a product sold for garment repair) under the lifted edge. Less is more — excess glue squeezes out and stains.
- Press the patch back down and leave it under a weight for several hours, or overnight.
- Once cured, if the rest of the patch is loose too, iron the whole thing through a cotton cloth for 20–30 seconds to reactivate the original adhesive.
Alternative: instead of glue, sew through the lifting edge with a few stitches. On a garment you care about, stitching is the repair that never fails again.
Stage 3: the adhesive is dead
Signs the adhesive is gone: the patch lifts with no resistance, or a clean cloth leaves no residue on the garment when you press it. Heat will not help here — there is nothing left to activate.
- Remove the patch properly — see the removal guide. Peel slowly at a low angle while cold.
- Clean the garment where it was, with isopropyl alcohol, to remove any residue.
- Reapply a fresh patch with the full method — clean, dry, full press time, barrier cloth, cool 30 seconds.
- Or keep the old patch and stitch it down if the chenille is still in good condition. Old patches often look better than new ones that have been over-pressed.
Stage 4: cleaning up adhesive residue
Residue is normal after removing a patch. What works depends on the fabric:
| Fabric | Method |
|---|---|
| Cotton / denim | Scrape gently, then dab with isopropyl alcohol, then wash cold |
| Polyester / nylon | Isopropyl alcohol only — no scraping, it damages the pile |
| Leather | Leather-safe cleaner only. Never heat or scrape |
| Suede | Very gently, with a barely damp cloth. Expect some shadowing |
Prevent the next failure
- Wash inside out and cold. This is the single biggest factor in patch longevity. See why patches come off in the wash.
- Skip fabric softener. It destroys adhesion, new and old.
- Dry low. High heat is the number two cause of failure.
- Do not wash for 48 hours after any repair or application.
- On high-wear areas — elbows, seat of jeans, bag bottoms — stitch the patch down. Adhesive alone will not survive that flexing.
Frequently asked questions
How do I fix a peeling iron-on patch?
Lay it flat, gently put the lifted edge back in place without pulling, cover with a thin cotton cloth, and press for 20-30 seconds at the correct temperature for the fabric. Let it cool 30 seconds, then leave it alone for 24 hours before washing.
Can you re-stick a patch that has come off?
Usually, if the adhesive still has some tack. Press it back down through a cotton cloth for 20-30 seconds. If it lifts with no resistance at all, the adhesive is dead — you will need fabric glue under the edge, or a fresh patch.
Will glue work to reattach an iron-on patch?
Yes. Lift the edge slightly, apply a thin line of clear permanent fabric adhesive underneath, press down and leave under weight for several hours. It often creates a stronger bond than the original heat application.
Why does my patch keep peeling off in the same corner?
Usually a mechanical reason rather than an adhesive one: that corner sits over a seam, a fold, a pocket edge, or a stress point. Press it thoroughly and add a few stitches through that corner with matching thread.
Should I sew a patch that keeps lifting?
Yes. Stitching is the only permanent repair on high-wear areas such as elbows, the seat of jeans, or bag bottoms, where the fabric flexes constantly and will always lever an adhesive bond loose.
How do I get adhesive residue off a garment?
On cotton and denim, scrape gently then dab with isopropyl alcohol and wash cold. On synthetics use isopropyl alcohol only, with no scraping. On leather use a leather-safe cleaner and never heat.
Shop the A–Z chenille letter sets
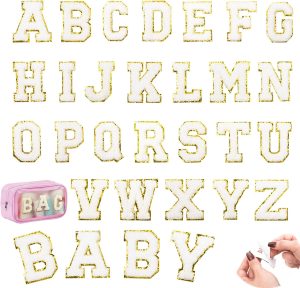
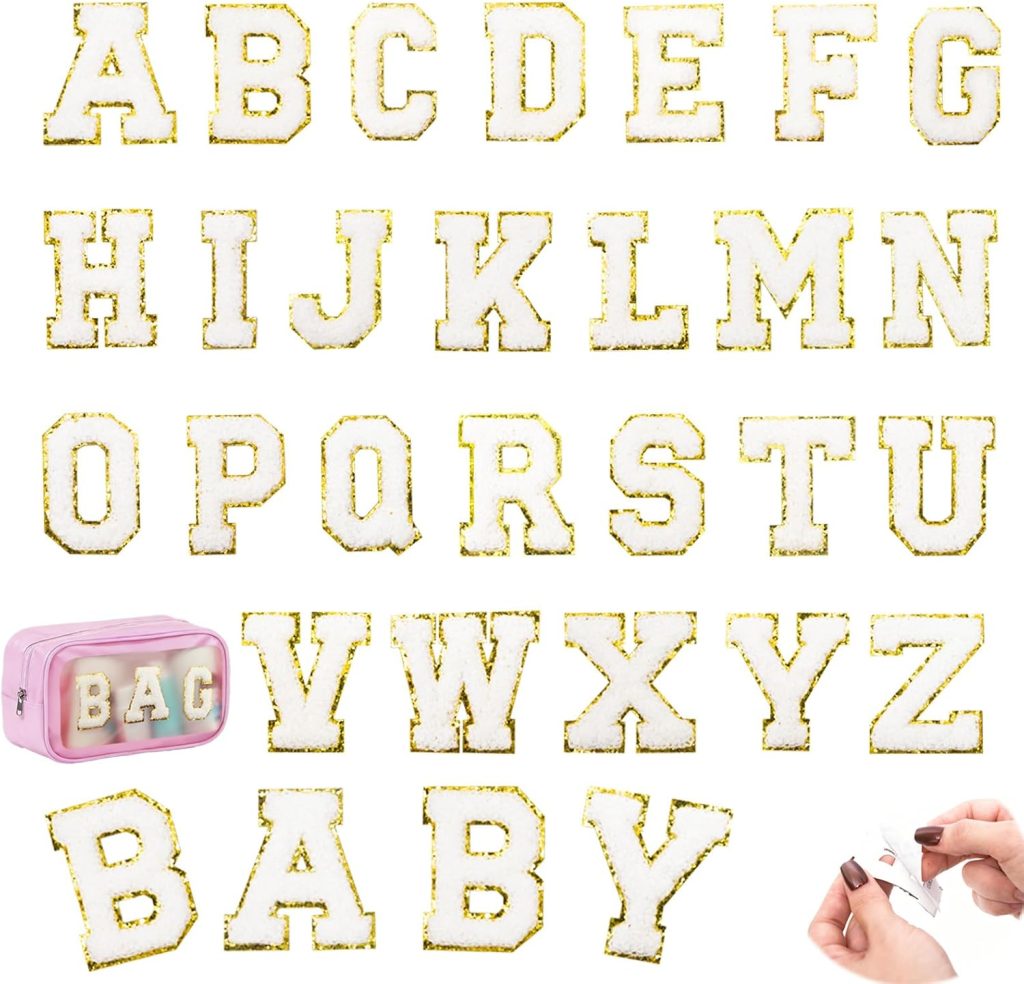
Every set is dense dimensional chenille with a metallic gold embroidered border, a strong self-adhesive backing, and an iron-on layer for permanence. Pick the size that fits your project.
Related reading
- Patch care and troubleshooting — the full hub for lifting, peeling, staining and removal.
- The complete patch application guide — get it right the first time.
- Iron-on temperature calculator — pick your fabric, get the exact heat setting and press time.
- How to wash and dry patches the right way — the care routine that makes patches last.