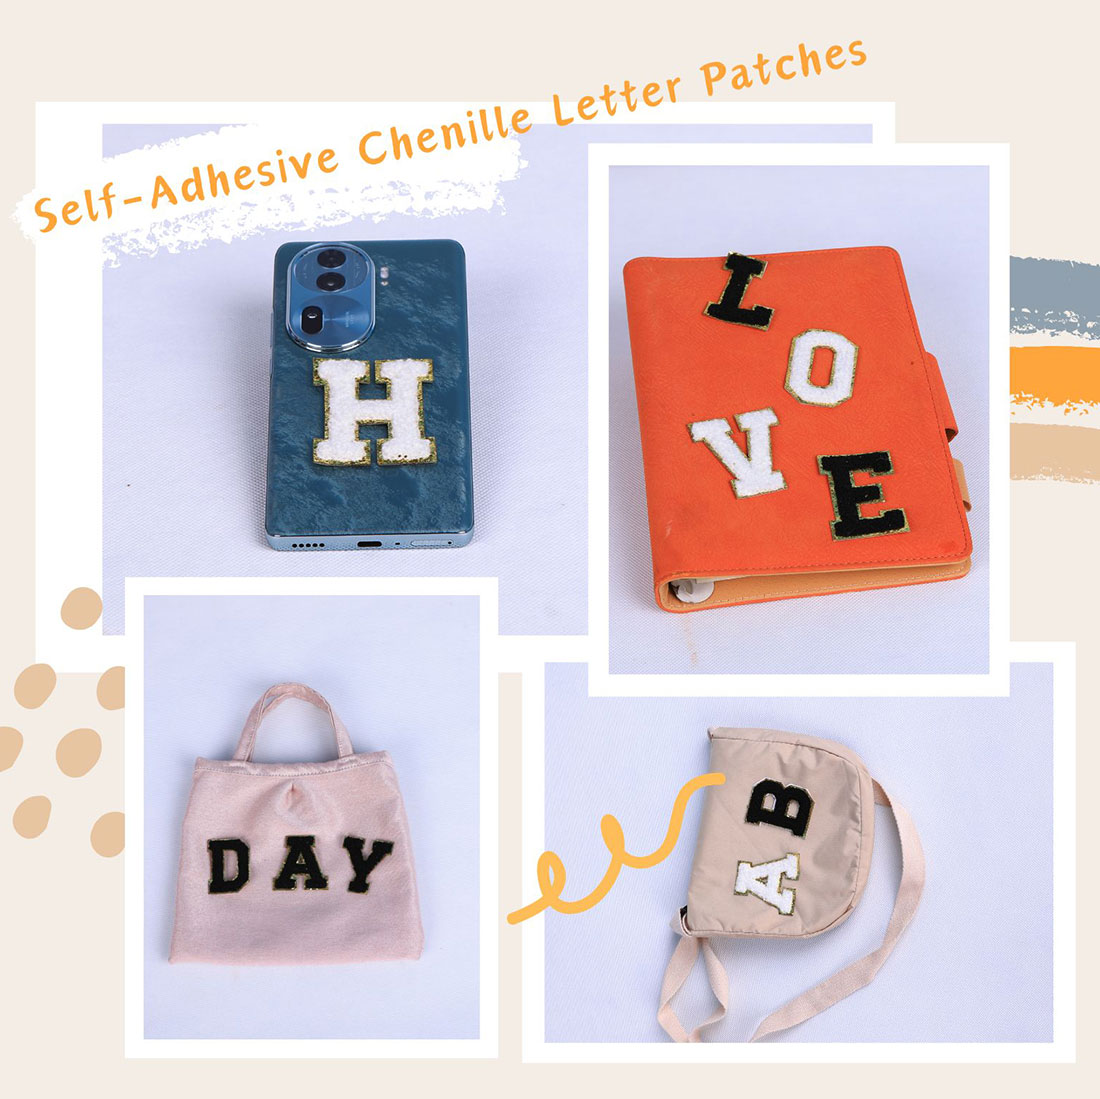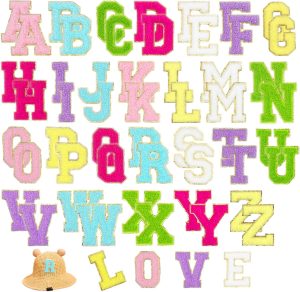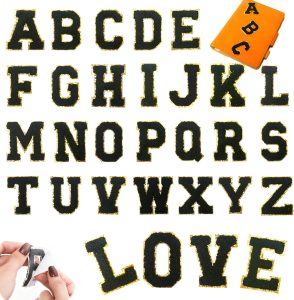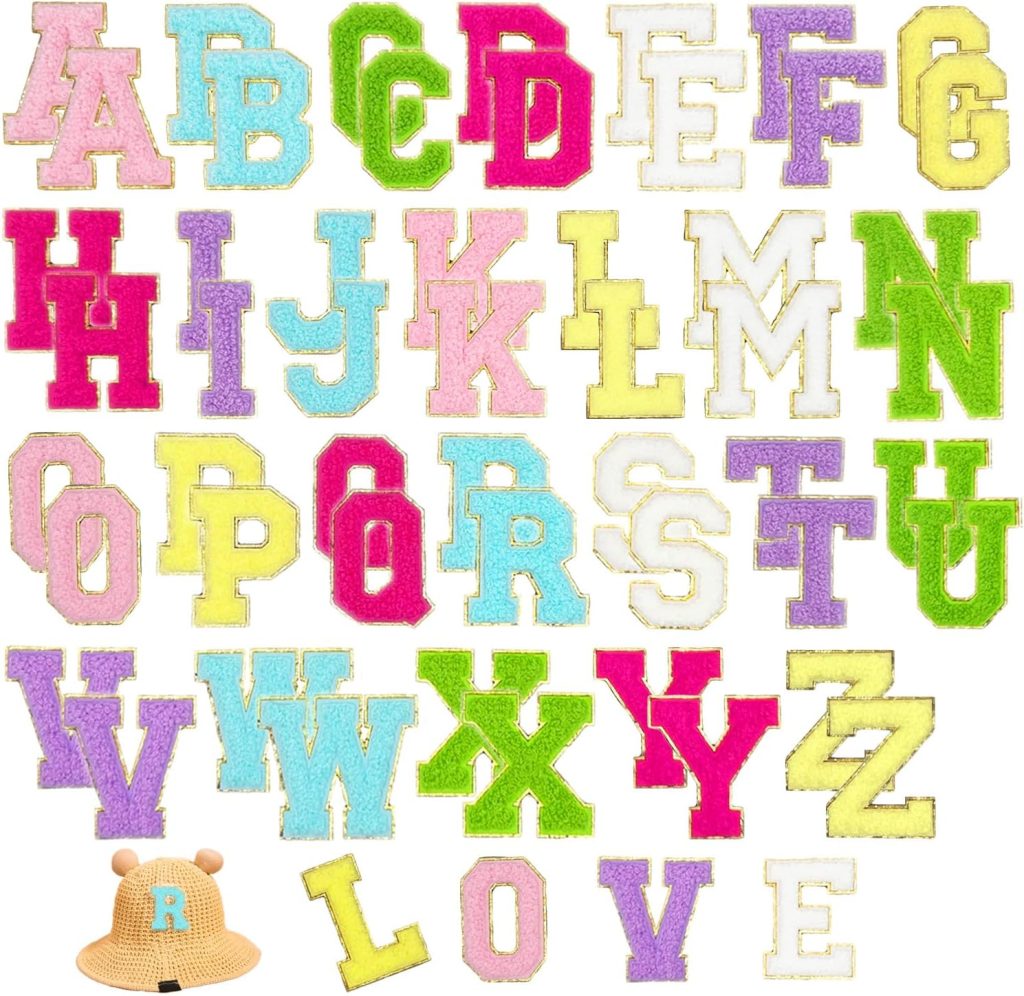
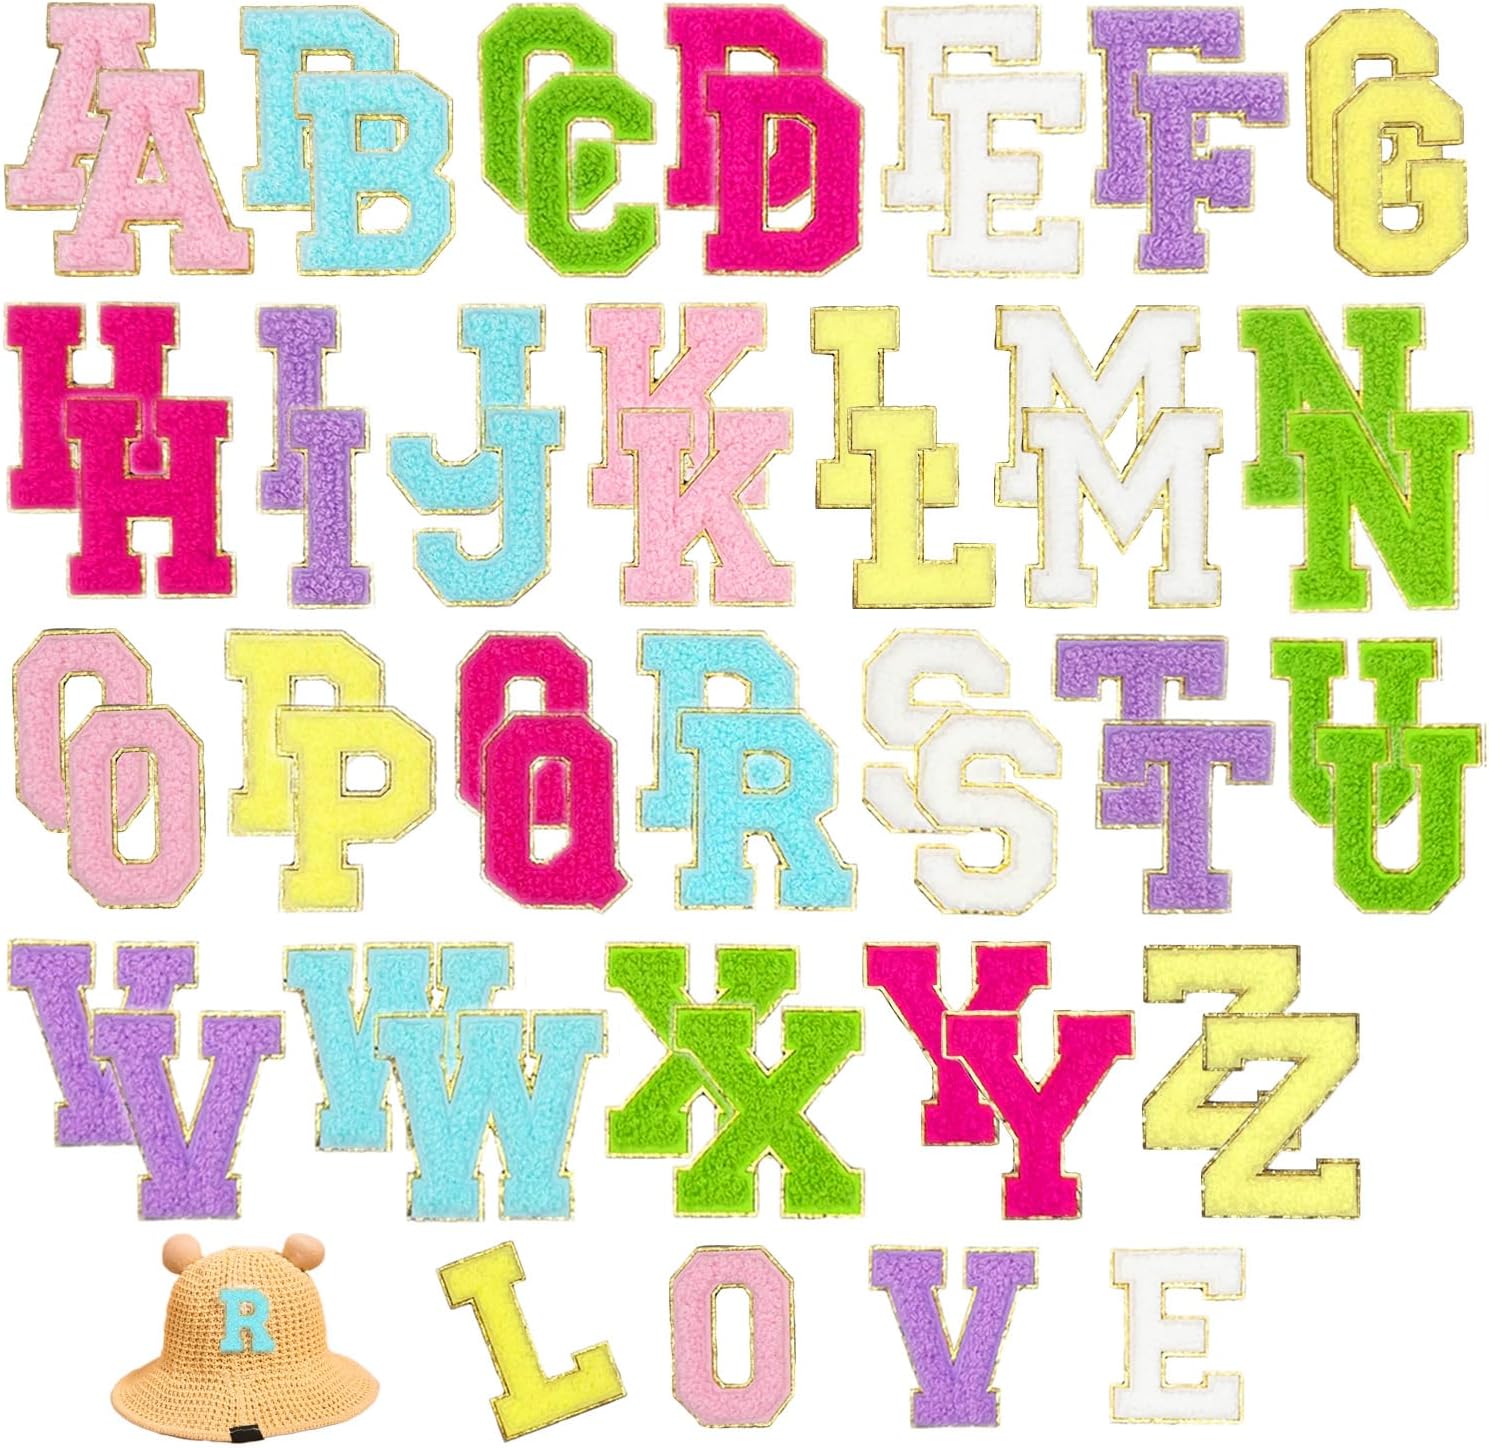
“Which should I buy?” is the right question to ask, because iron-on and sewn patches are not competing products — they are different tools for different jobs. An iron-on patch takes ninety seconds and needs no sewing skill. A sewn patch takes five minutes and will still be there in ten years. This guide is about working out which one your garment and your week actually call for.
YTONN letter patches ship with both a self-adhesive backing and an iron-on layer, so you can press them, glue them, or sew them onto the same patch. The choice is entirely about the garment and how much life you need it to have.
The honest comparison
| Factor | Iron-on / self-adhesive | Sewn |
|---|---|---|
| Application time | 90 seconds | 3–5 minutes |
| Skill needed | None | Basic sewing |
| Tools | Iron, cloth | Needle, thread |
| Bond strength | Strong, and durable if applied correctly | Effectively permanent |
| Works on leather | Adhesive only, never heat | Yes, ideal method |
| Works on synthetics | Yes, low heat | Yes |
| Removable later? | Yes, usually | No — leaves small holes |
| High-wear areas | Risky | Recommended |
| Curved surfaces | Difficult, needs the two-panel method | Easier — the thread holds it around a curve |
When iron-on is the right call
- You want to do it right now. No sewing machine, no needle, no thread. Peel, position, press, done.
- The garment will not be washed often. A blazer you wear to work once a week will hold an iron-on patch indefinitely.
- You might want to remove it later. A press-on patch peels off; a sewn one leaves needle holes.
- The fabric is delicate. Sewing a patch through a lightweight silk or rayon risks puckering the whole panel. An iron press with a barrier cloth does not.
- You are working on a curved cap. The self-adhesive layer alone grips a curve better than any heat press can.
When sewing is the right call
- The area flexes. Elbows, the seat of jeans, bag bottoms, backpack straps. Stitching is the only method that survives constant movement — see the lifespan guide for the numbers.
- It is leather. Heat permanently alters hide, so leather is adhesive-only or sewn. Sewing is the better of the two. Full method in the leather guide.
- The garment gets washed hard. Hot cycles, tumble drying, industrial laundry — stitching does not care.
- It is a keepsake. A letterman jacket you will keep for a decade deserves stitches.
- You want it to look hand-finished. A neat saddle stitch around the perimeter looks considered in a way no iron-on can.
The best answer: do both
On a high-wear garment, the professional method is press first, then stitch:
- Position the patch using the self-adhesive backing and press it through a cotton cloth for the full time your fabric needs.
- Let it cool, then stitch around the perimeter with thread that matches the garment.
- The heat-activated adhesive does the initial holding, and the stitching carries the load for the next decade.
This is the method we recommend for varsity jackets, denim back pockets, and anything that will be washed weekly.
How to sew a chenille letter patch on properly
- Use a sharp needle — 90/14 for cotton, a leather needle for leather and faux leather. A blunt needle will drag and fray the chenille pile.
- Thread with waxed polyester or nylon. It will not rot, and wax helps the thread slide through the felt backing.
- Stitch around the full perimeter, 2–3 mm inside the gold trim edge. Do not stitch through the gold trim itself — a needle punctures the metallic thread and it will fray.
- Use a short stitch length and push the needle through the backing each time rather than pulling it through, which damages the pile.
- Knot on the hidden side. Chenille does not hold a knot well on the face, so pass the thread through the backing a couple of times before trimming.
How to press one on properly
For completeness, the short version. Clean the fabric with isopropyl alcohol, let it dry, peel and position, cover with a thin cotton cloth, press for the full time your fabric needs, cool for 30 seconds, and wait 48 hours before washing. Get the exact temperature from the iron-on temperature calculator, and the full method in the application guide.
Common mistakes
| Mistake | Result | Fix |
|---|---|---|
| Pressing for 10 seconds | Peels off in the wash | 25–40s on denim, 15–20s on cotton |
| No barrier cloth | Flattened pile, dull gold trim | Always press through thin cotton |
| Sewing through the gold trim | Metallic thread frays and rusts | Stitch inside the trim edge |
| Washing within 48 hours | Edge lifts immediately | Wait two full days |
| Ironing a leather patch | Scorched, stiffened hide | Adhesive only, or sew |
Frequently asked questions
Is iron-on as good as sewn patches?
For most garments, yes, provided it is applied correctly. A properly pressed iron-on patch on cotton or denim lasts for years. Sewing is still the better choice for high-wear areas that flex constantly, for leather, and for anything you want to last a decade.
Can you sew iron-on patches?
Yes, and it is the recommended method for high-wear areas. The best approach is to press the patch first so it is positioned and bonded, then stitch around the perimeter. That way the adhesive does the holding and the stitching carries the long-term load.
How long does an iron-on patch last compared to a sewn one?
On cotton and denim with correct care, an iron-on patch lasts years. A sewn patch is effectively permanent, and on a flexing area like an elbow or the seat of jeans, stitching is dramatically longer-lived because the adhesive is not working against constant movement.
What thread should I use for chenille patches?
Waxed polyester or nylon thread. It will not rot or stretch like cotton, and the wax helps it slide through the felt backing. Avoid stitching through the metallic gold trim itself, because a needle punctures it and it will fray.
Can iron-on patches be removed later?
Usually yes — peel slowly at a low angle while cold. A sewn patch cannot be removed without leaving small needle holes. If you may want to change the design later, press it on instead of sewing it.
Is it worth sewing patches on a varsity jacket?
If the jacket gets washed regularly or you want it to last a decade, yes. Sewing is the only method that survives the flexing of a shoulder or elbow. For a blazer you wear occasionally, a correct iron-on press will last just as long.
Shop the A–Z chenille letter sets
Every set is dense dimensional chenille with a metallic gold embroidered border, a strong self-adhesive backing, and an iron-on layer for permanence. Pick the size that fits your project.
Related reading
- Varsity letter guide — placement, size and spacing rules.
- The complete patch application guide — every fabric, every method.
- Patch care and troubleshooting — what to do when a patch lifts or peels.
- Iron-on temperature calculator — exact heat setting and press time.
- All chenille letter sets — the four colourways side by side.
Related guides
- Varsity Letter Guide — placement, sizing, spacing and colour rules for letter patches.
- Chenille vs Embroidered vs Woven Patches — the other side of the buying decision.
- Letter Layout Previewer — see your layout at true scale and know how many sets to buy.