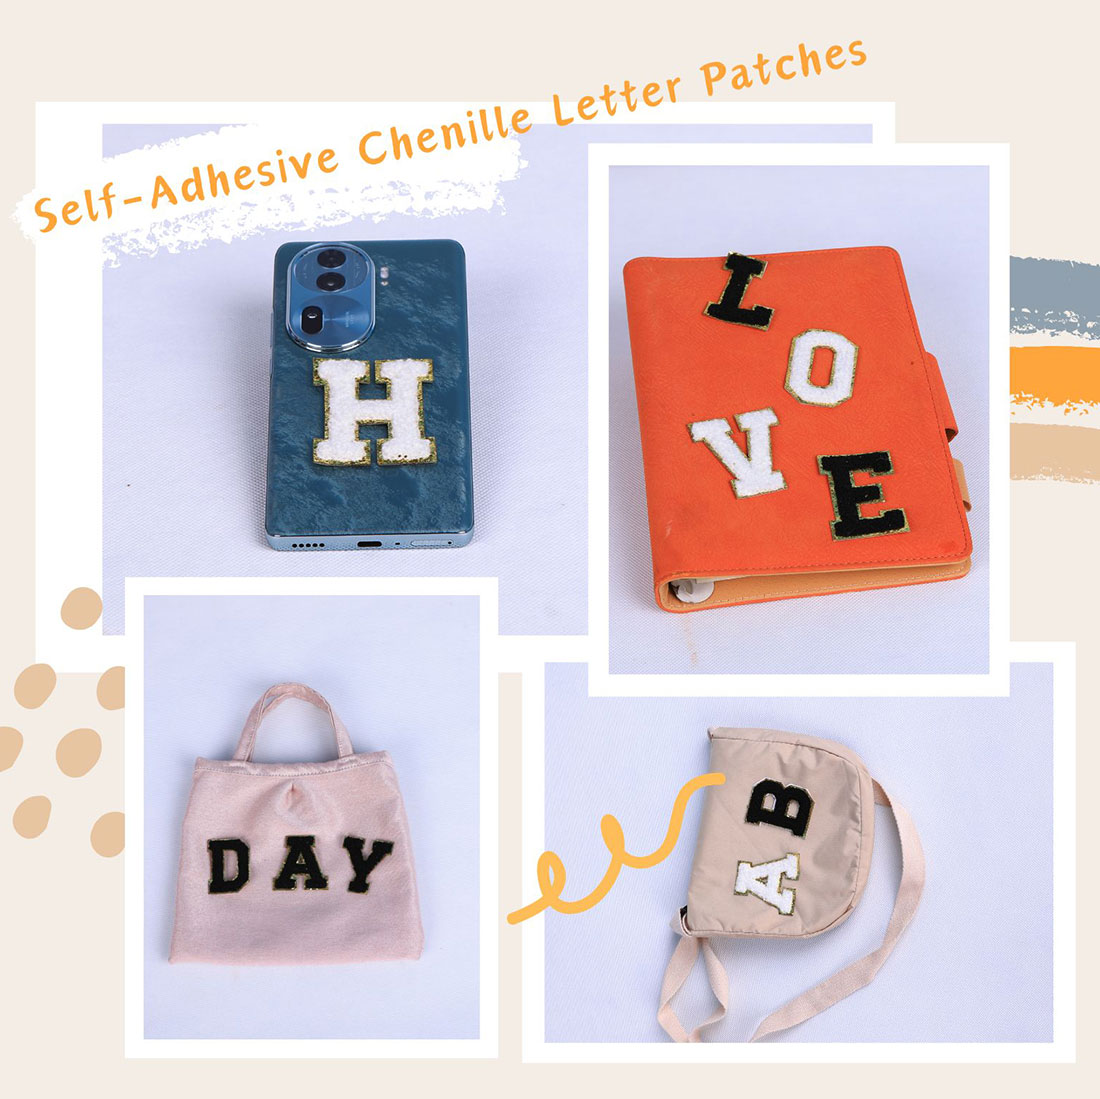
Generic advice says “put a letter where you like.” That’s how people end up with a letter on an elbow. After patching every garment type I own, here are concrete formulas per item — with the letter counts that actually fit, not the ones that look good in your head.
Denim jacket
The back is your billboard: a word or a name, four to eight letters, centred. The front gets one pocket initial, not both pockets and not a chest word on top of the back piece. My take: back statement or front statement, never both crowded. A jacket trying to say everything says nothing. Denim holds chenille better than almost any fabric, so this is where you can be bold.
Hoodie
Centre chest, one big letter or a two-letter initial, clean and level. Or a single sleeve letter as a secondary mark. Not both, and certainly not a big chest letter plus a sleeve letter plus a pocket initial — that’s three ideas on a sweatshirt. Neutral hoodie, contrast letter. The 2.17-inch YTONN letter sits perfectly centred on a standard chest.
Tote bag
Front panel, a name, three to six letters, centred. Totes are flat and they read like a sign, which makes them the ideal canvas for a name — far better than a jacket back, where a long name fights the shoulders. If the name is long, the previewer will tell you before the iron does.
Baseball cap
Front panel, one bold initial (one or two letters). A second tiny initial on the side panel can work, but I usually leave the side empty — a cap with letters front, side and back looks like a billboard truck. One confident initial on the front is the whole cap.
Canvas sneaker
The tongue. It’s the only genuinely flat spot; everywhere else curves and the corners lift. One initial on the tongue, stitched if you actually wear the shoe (it bends every step). Nowhere else on a sneaker is worth the trouble.
The short version
One idea per garment, the letter count matched to the panel, and the spot chosen because it’s flat — not because it’s empty. That’s every formula above in three lines, and it’s saved me more ruined shirts than I’ll admit.
Frequently asked questions
Where should I put a letter on a denim jacket?
The back is your billboard for a word or name (four to eight letters, centred). The front gets one pocket initial, not both pockets. Pick a back statement or a front statement, not both crowded; denim holds chenille better than almost any fabric, so the back is where you can be bold.
How many letters fit on a hoodie chest?
One big letter or a two-letter initial, centred and level. Keep it to that plus at most a single sleeve letter as a secondary mark. A big chest letter plus a sleeve letter plus a pocket initial is three ideas on one sweatshirt, which reads as a kit.
Is a tote bag good for a full name?
Better than a jacket back. Totes are flat and read like a sign, so a three-to-six letter name centred on the front panel works beautifully. Use the letter layout previewer to confirm a long name fits before you iron.
How many letters go on a baseball cap?
One bold initial on the front panel. A tiny second initial on the side can work, but a cap with letters front, side and back looks like advertising. One confident front initial is the whole cap.
Can I put a letter patch on a sneaker?
Only on the tongue — it’s the only flat spot; every other part curves and the corners lift. One initial on the tongue, and stitch it if you actually wear the shoe, because it bends with every step.
What is the one rule across every garment?
One idea per garment, a letter count matched to the panel, and a spot chosen because it’s flat rather than because it’s empty. That single habit prevents most ruined shirts.
Shop the A–Z chenille letter sets
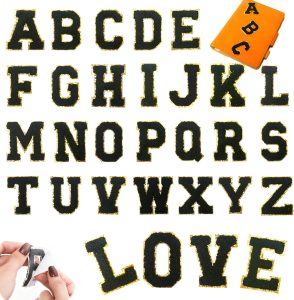
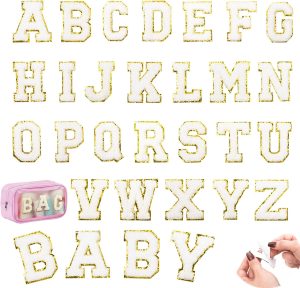
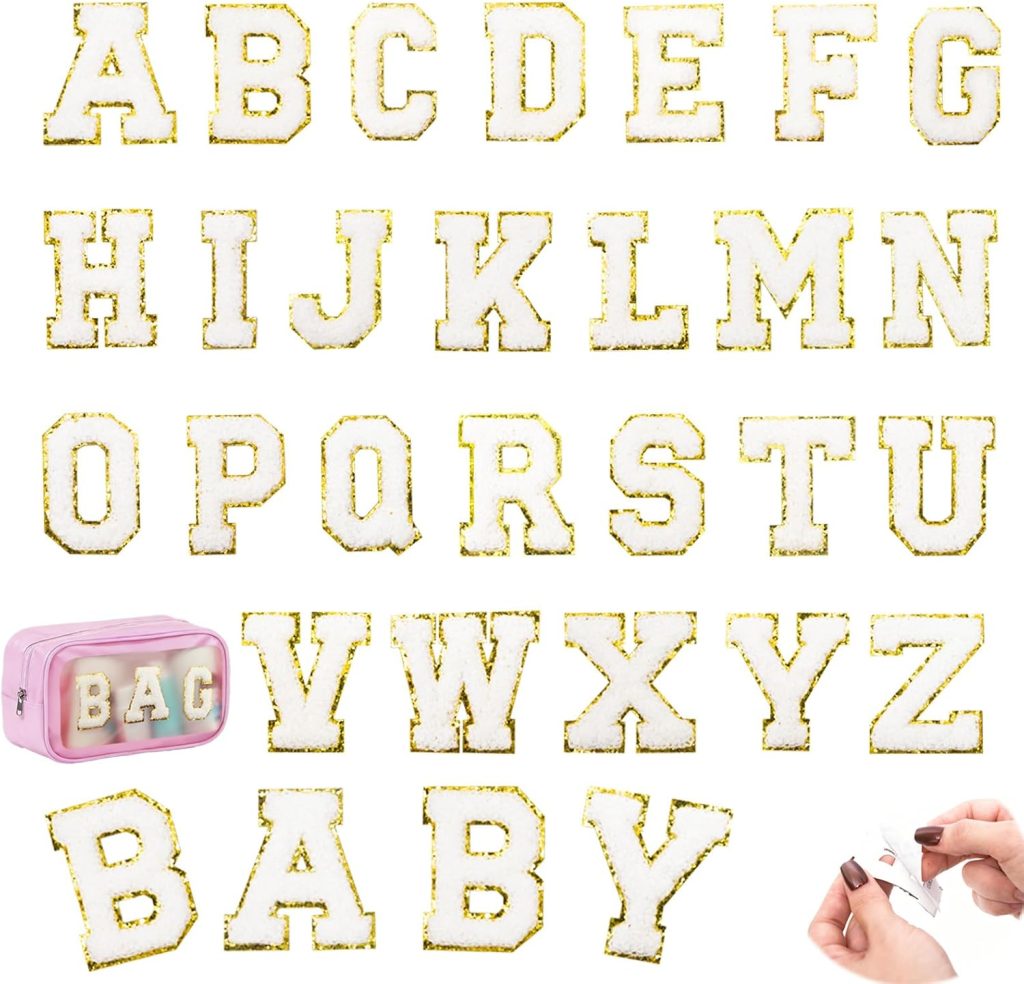
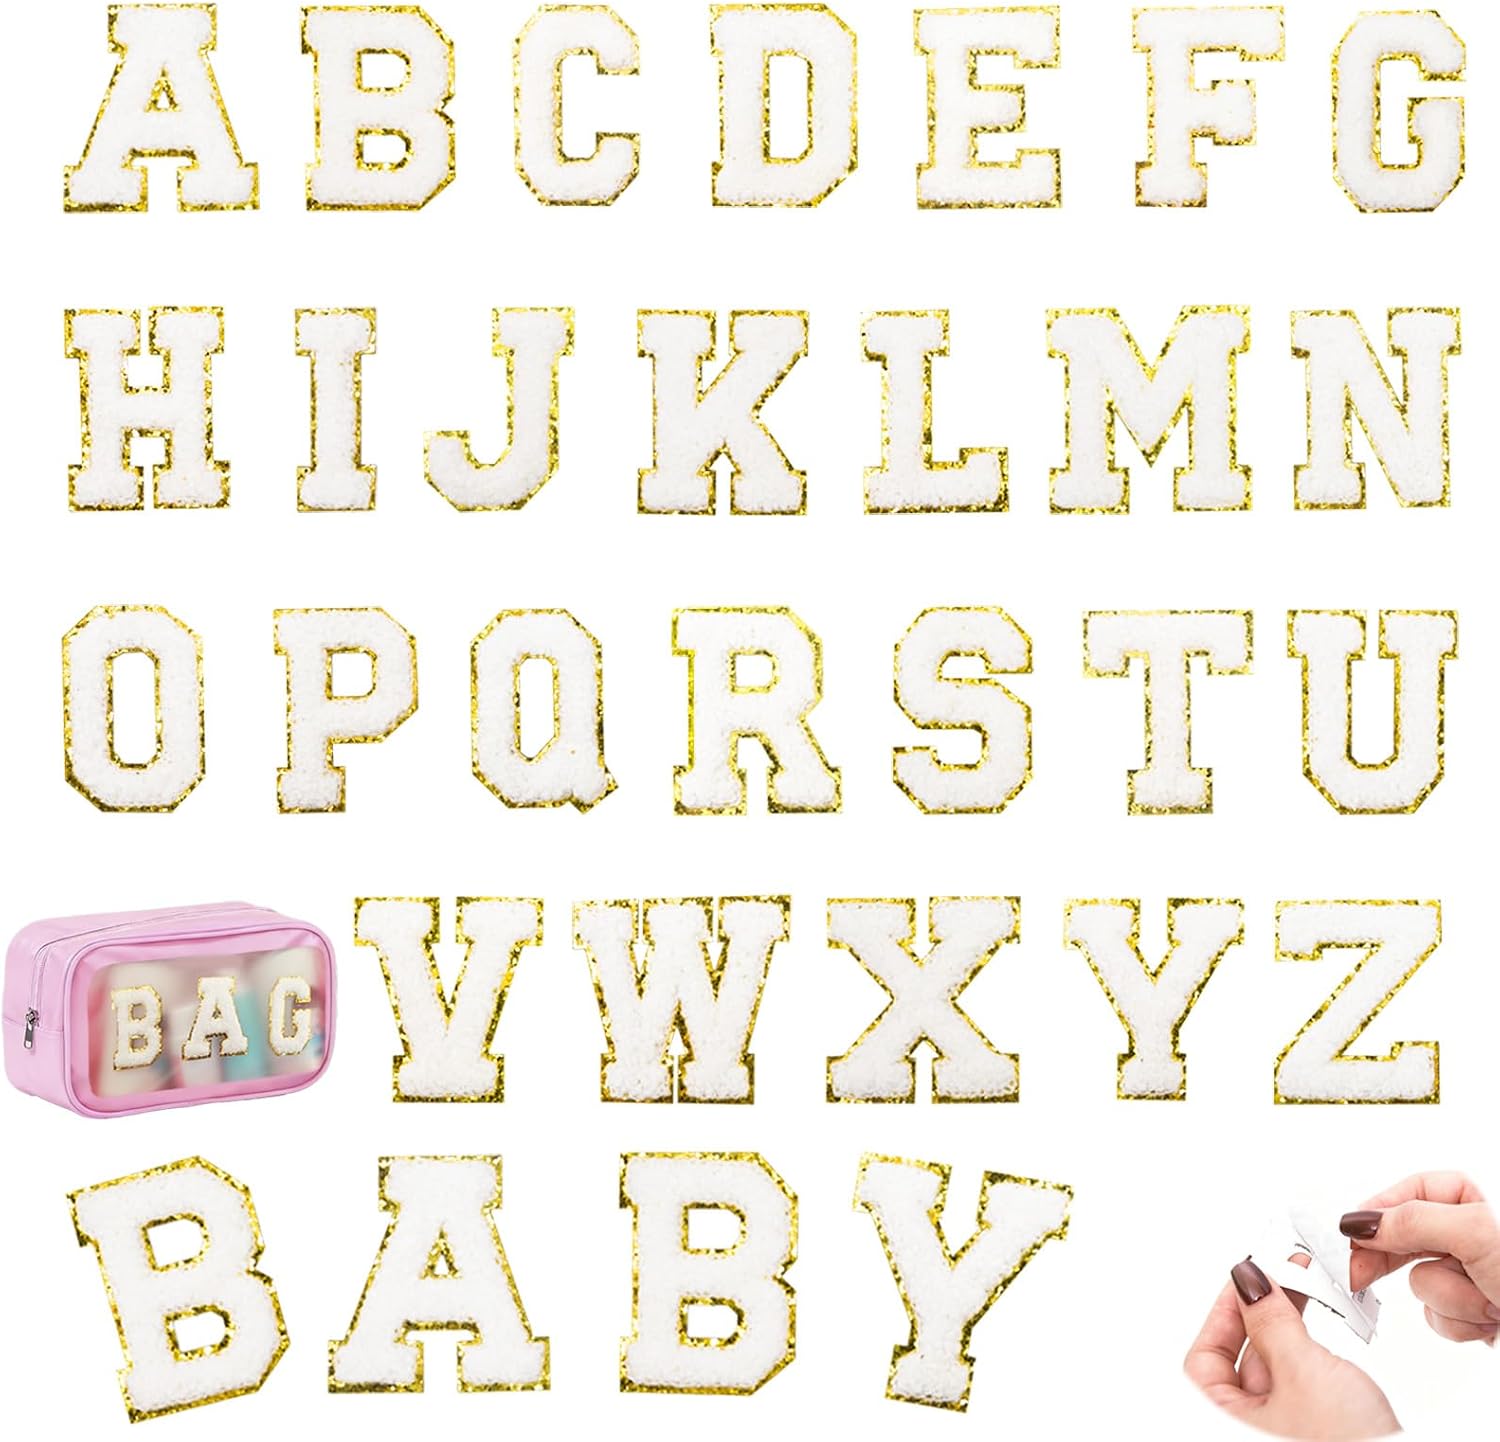
Every set is dense dimensional chenille with a metallic gold embroidered border, a strong self-adhesive backing, and an iron-on layer for permanence. Pick the size that fits your project.
Related reading
- Colour Combination Guide — match the letter to the panel
- 5 Style Recipes — from quiet to loud
- Mixing Chenille with Other Elements — what holds up in wear
- 5 Ways Patches Go Wrong — and the two-minute fix for each
- Varsity letter guide — placement, size and spacing, the boring rules that save you
- All chenille letter sets — the four colourways side by side
- Letter layout previewer — see your name at true 2.17-inch scale before you buy
- The complete application guide — every fabric, every method, every mistake avoided
- Preppy letter-patch style — the Ivy League look, decoded
- Creative placement ideas — fourteen spots past the obvious chest