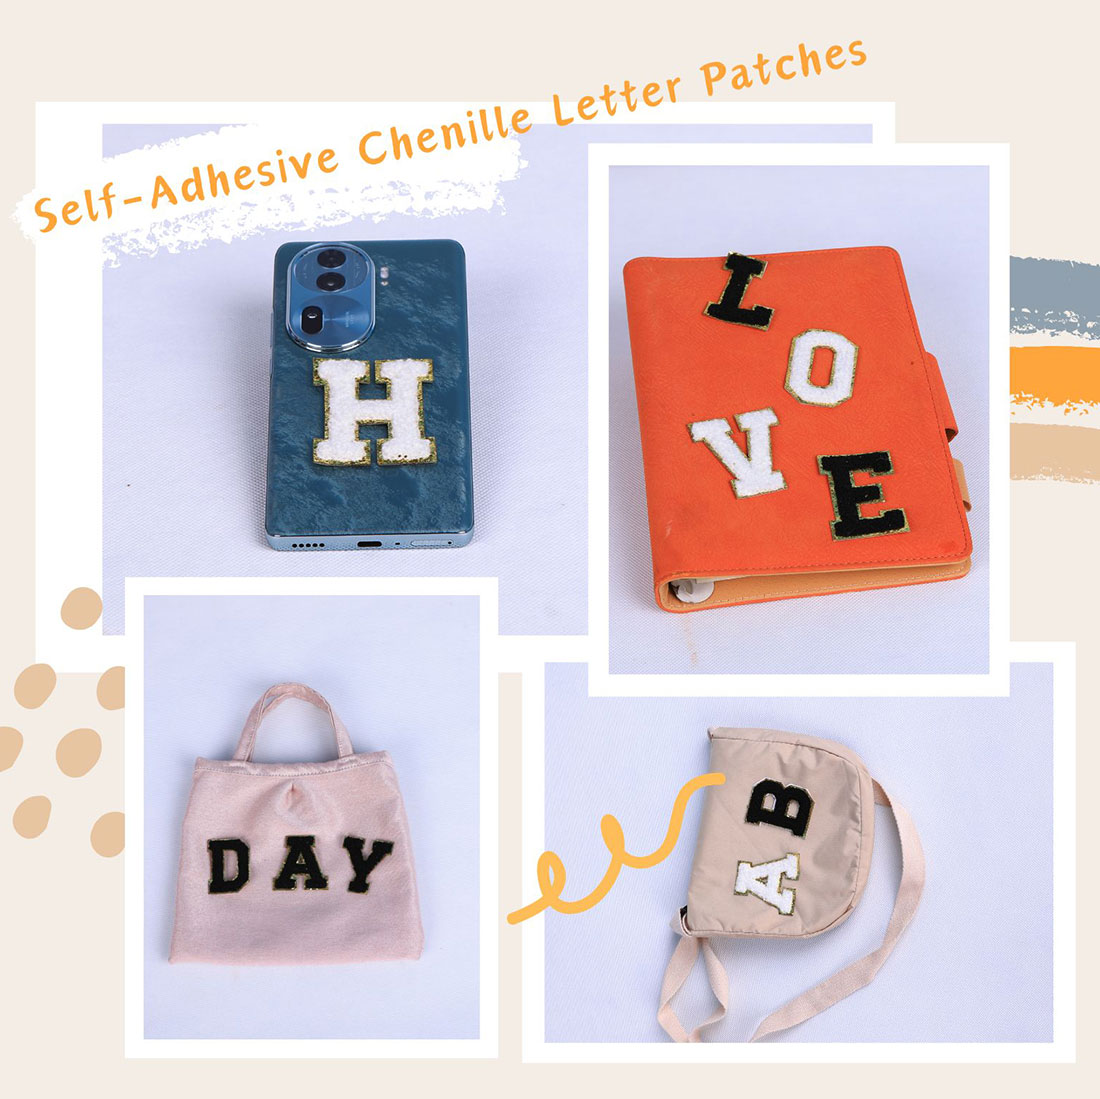
Not everyone has an iron, and honestly, for some jobs you should not use one. A hair straightener, a hot glue gun, a heated press, a rice-heated towel, or even the warmth of a clothes dryer can all set an iron-on patch — and on technical fabrics, a no-heat method is the safer choice even when you do own an iron.
This guide ranks the alternatives from best to worst, with honest notes on what each one actually does to the bond.
How heat-free application actually works
YTONN patches carry two adhesive systems. The iron-on layer is a thermoplastic glue that needs roughly 120°C for about fifteen seconds to flow into the fabric. The self-adhesive layer is a pressure-sensitive acrylic adhesive that bonds at room temperature with firm, sustained pressure and reaches full strength over 24 to 48 hours.
That second system is the key: it means a genuinely good result without any heat at all.
Method 1: hair straightener (best no-iron option)
A hair straightener gives you precise, controlled heat on a small area — which is exactly what an iron gives you, minus the bulk.
- Set the straightener to 130–150°C (270–300°F). Most straighteners have a low and a high setting; use the low one, and check the actual temperature on a scrap first if your model has a digital display.
- Position the patch using the peel-and-stick backing.
- Place a thin cotton cloth over the patch — the ceramic plates will otherwise flatten the chenille pile and dull the gold trim.
- Close the plates and hold for 10–15 seconds. Move to the next letter. Work in a steady rhythm so every letter gets the same amount of heat.
- Cool for 30 seconds before handling.
The one drawback: straightener plates are narrow, so a 2.17-inch letter takes two or three passes. That is fine — just keep the passes overlapping slightly and count the total seconds per letter.
Method 2: hot glue gun (works, but be careful)
A glue gun applies a bead of hot glue directly to the fabric, which then acts as the bonding layer. It is faster than an iron and bonds well on smooth synthetic surfaces, but it is easy to overdo.
- Use a low-temperature glue gun if you have one.
- Apply a thin zigzag bead to the back of the patch — less is more.
- Press the patch down immediately and hold it for 30 seconds.
- Test on a scrap first. Hot glue can bleed through light fabrics and will permanently stain some synthetics.
Honest verdict: this is the least elegant method and the one most likely to leave a visible mark. It is a last resort, not a first choice.
Method 3: heated press or heat press
If you have access to a heat press, it is actually better than an iron. The even, flat pressure across the whole patch produces a stronger, more uniform bond.
- Cotton fabrics: 150–165°C (300–330°F) for 20–30 seconds.
- Polyester and nylon: 110–130°C (230–265°F) for 10–15 seconds.
- Lower the platen slightly if you are unsure — a slightly cooler, longer press is gentler on synthetics.
Method 4: the clothes-dryer method (works, with caveats)
The dryer is hot enough to activate an iron-on adhesive, but it is not precise. It works best as a finishing step: press the patch with an iron first if you have one, then use the dryer to set it.
- Position and press the patch by hand — even just standing on it with a heavy book for several minutes helps.
- Put the garment in the dryer on low heat (not high) for 20 minutes with a couple of dry towels.
- The tumbling motion adds the sustained pressure that pressure-sensitive adhesive needs.
Warning: high heat in the dryer is the single biggest cause of iron-on patch failure over time. If you use this method, always dry low afterwards.
Method 5: no heat at all (the self-adhesive route)
This is the safest method and, with a little patience, gives an excellent result:
- Clean the fabric. Wipe with isopropyl alcohol on a cloth. Let it dry completely. Oils and dust are the number one cause of a failed adhesive bond.
- Peel the backing and position the patch precisely.
- Press firmly with your thumb from the centre outwards, working across the whole surface. Thirty to sixty seconds of real pressure per letter.
- Place the garment flat under a heavy book, a towel stack, or a weight for several hours. Overnight is better.
- Let it cure for 24 to 48 hours before washing or heavy wear.
After curing, this bond is genuinely durable — it just does not have the heat-activated strength of a proper press, so it is best on surfaces that do not flex much.
Method 6: warm towel trick
A microwave-heated damp towel, applied over the patch, is a household method some people use for light fabrics. Be realistic about it: this is a low, inconsistent heat source and the results are unpredictable. If you go this route, treat it as equivalent to the no-heat method — i.e. the adhesive does most of the work, not the heat. Never microwave a towel with metal trim, and be careful with moisture: any water trapped under a patch will prevent adhesion.
Which method should you use?
| Method | Bond strength | Best for |
|---|---|---|
| Heat press | Strongest | Everything, if you have access |
| Hair straightener | Strong | Cotton and denim |
| Iron | Strong | Most fabrics, correct settings |
| Self-adhesive only | Moderate | Synthetics, leather, delicate items |
| Dryer | Moderate | As a finishing step |
| Hot glue gun | Variable | Emergency use only |
No-iron tips that actually matter
- Pressure beats heat when you have no heat source. Weight, books, and firm thumb pressure do more for an adhesive than a warm room.
- Time beats force. Sustained moderate pressure for an hour outperforms one hard push.
- Clean is non-negotiable. An alcohol wipe takes thirty seconds and is the difference between a patch that lasts a year and one that lasts a week.
- Heat still helps a lot. Even a warm hair dryer held at a distance for two minutes after application will strengthen the bond.
More detail on what to do when a bond fails is in why your patch is not sticking, and our full application guide covers the iron methods in detail.
Frequently asked questions
How do you apply an iron-on patch without an iron?
Use the self-adhesive layer with firm sustained pressure. Clean the fabric with isopropyl alcohol, peel and position the patch, press with your thumb for 30-60 seconds, then set the garment flat under books or weight for several hours. A hair straightener at 130-150°C also works well.
Can a hair straightener work as an iron for patches?
Yes, and it is the best no-iron option. Set it to 130-150°C (270-300°F), place a thin cotton cloth over the patch, close the plates and hold for 10-15 seconds per letter. The narrow plates mean a 2.17-inch letter takes two or three passes.
Will a hot glue gun work for iron-on patches?
It will bond the patch, but it is the least clean method. Use a low-temperature gun, a thin zigzag bead on the back of the patch, and press immediately. Hot glue can bleed through light fabrics and permanently stain some synthetics, so test on a scrap first.
Can I use a hair dryer to set a patch?
A hair dryer on a warm setting held at a distance for a minute or two after application will strengthen the bond, but it is not a substitute for a proper press. It is best used to finish a patch that was applied with the self-adhesive layer.
How long does a self-adhesive patch take to set?
Full strength takes 24 to 48 hours. Pressure is what drives the bond, so keep the garment flat and under weight during that time. Washing or heavy wear in the first day is the most common reason an adhesive-only patch fails.
Is a heatless application as strong as ironing?
No. Heat-activated adhesive flows into the fibre and creates a stronger, more uniform bond. The self-adhesive layer is excellent on smooth, non-flexing surfaces and on heat-sensitive fabrics, but a correct iron press will always outlast it.
Shop the A–Z chenille letter sets
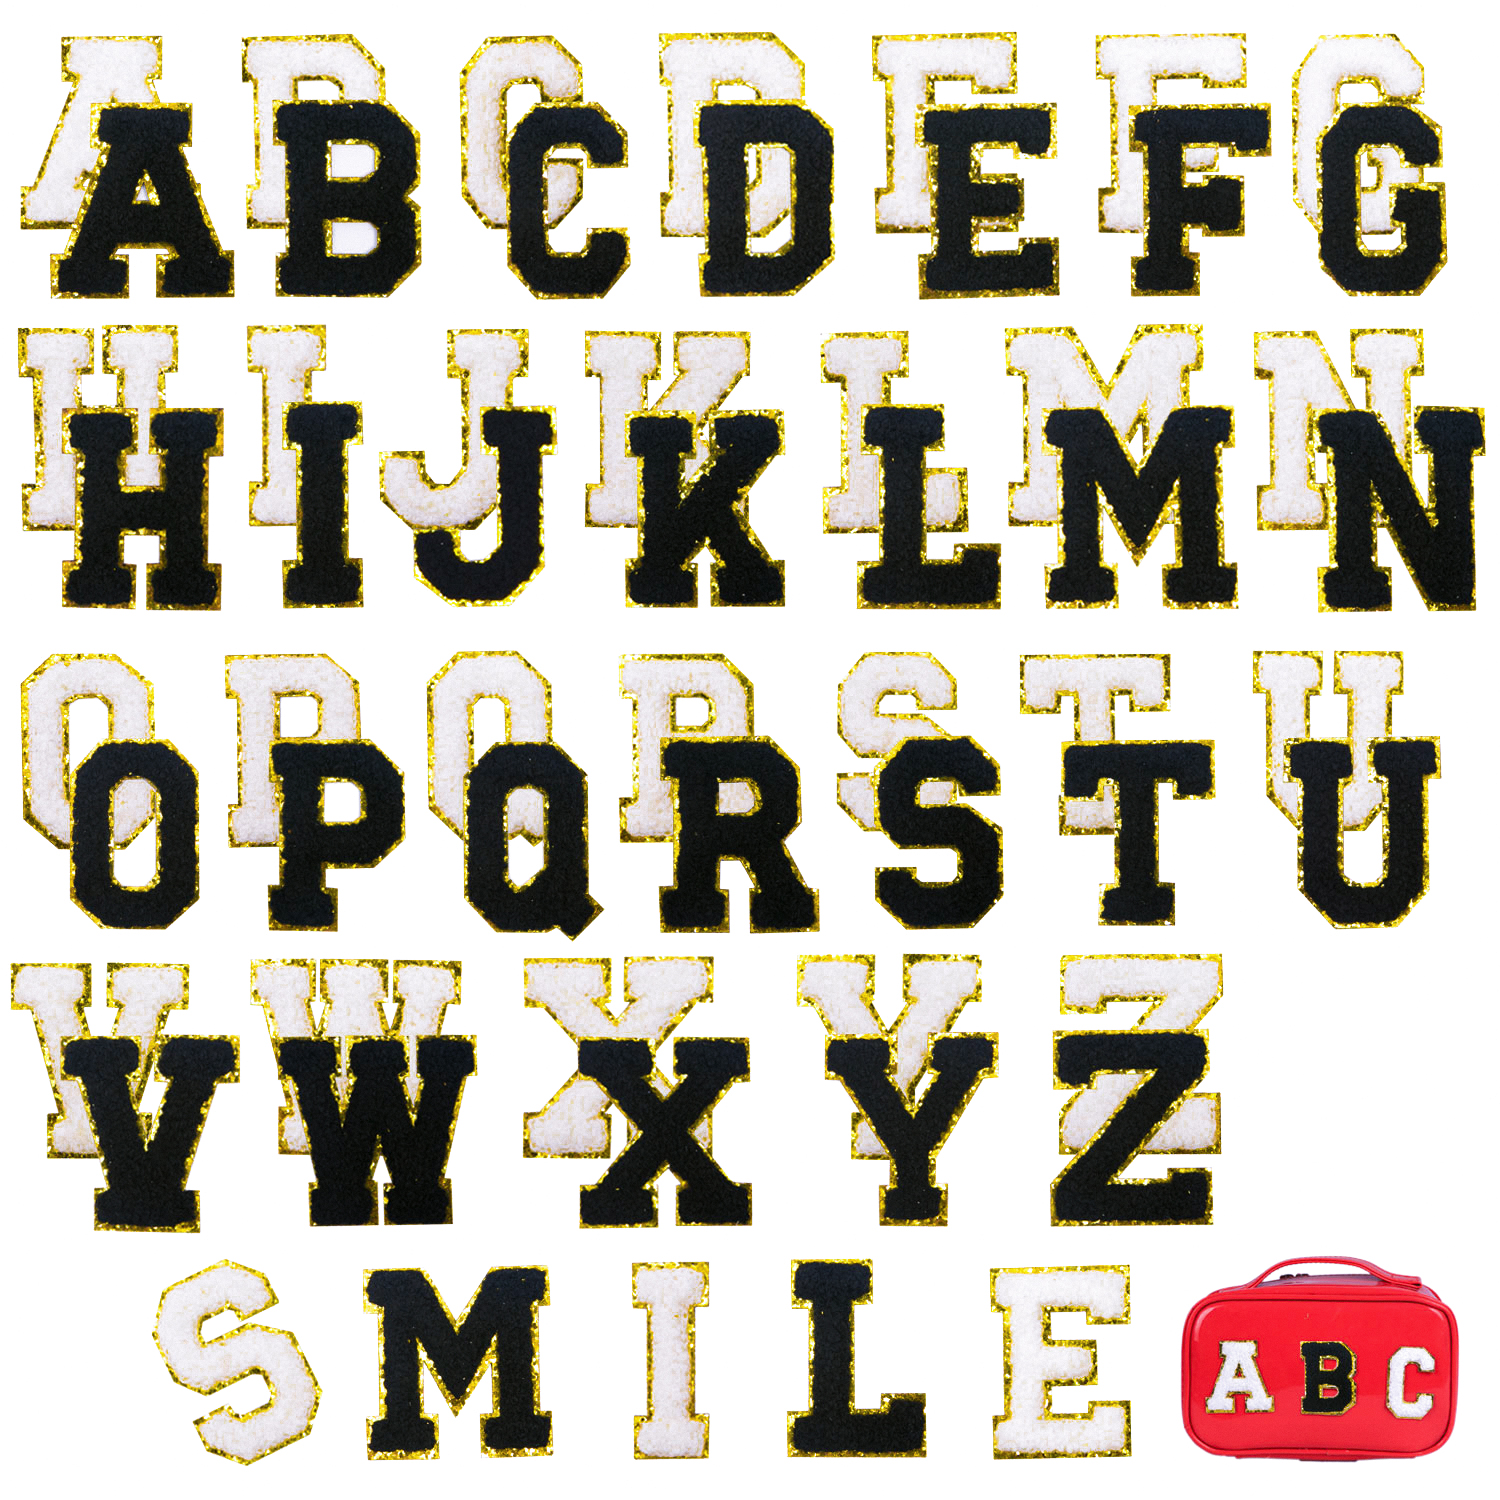
Every set is dense dimensional chenille with a metallic gold embroidered border, a strong self-adhesive backing, and an iron-on layer for permanence. Pick the size that fits your project.
Related reading
- The complete patch application guide — every fabric, every method, one page.
- Patch care and troubleshooting — what to do when a patch lifts, peels, or stains.
- Iron-on temperature calculator — pick your fabric, get the exact heat setting and press time.
- What is chenille embroidery? — how the fuzzy yarn and gold trim are made.