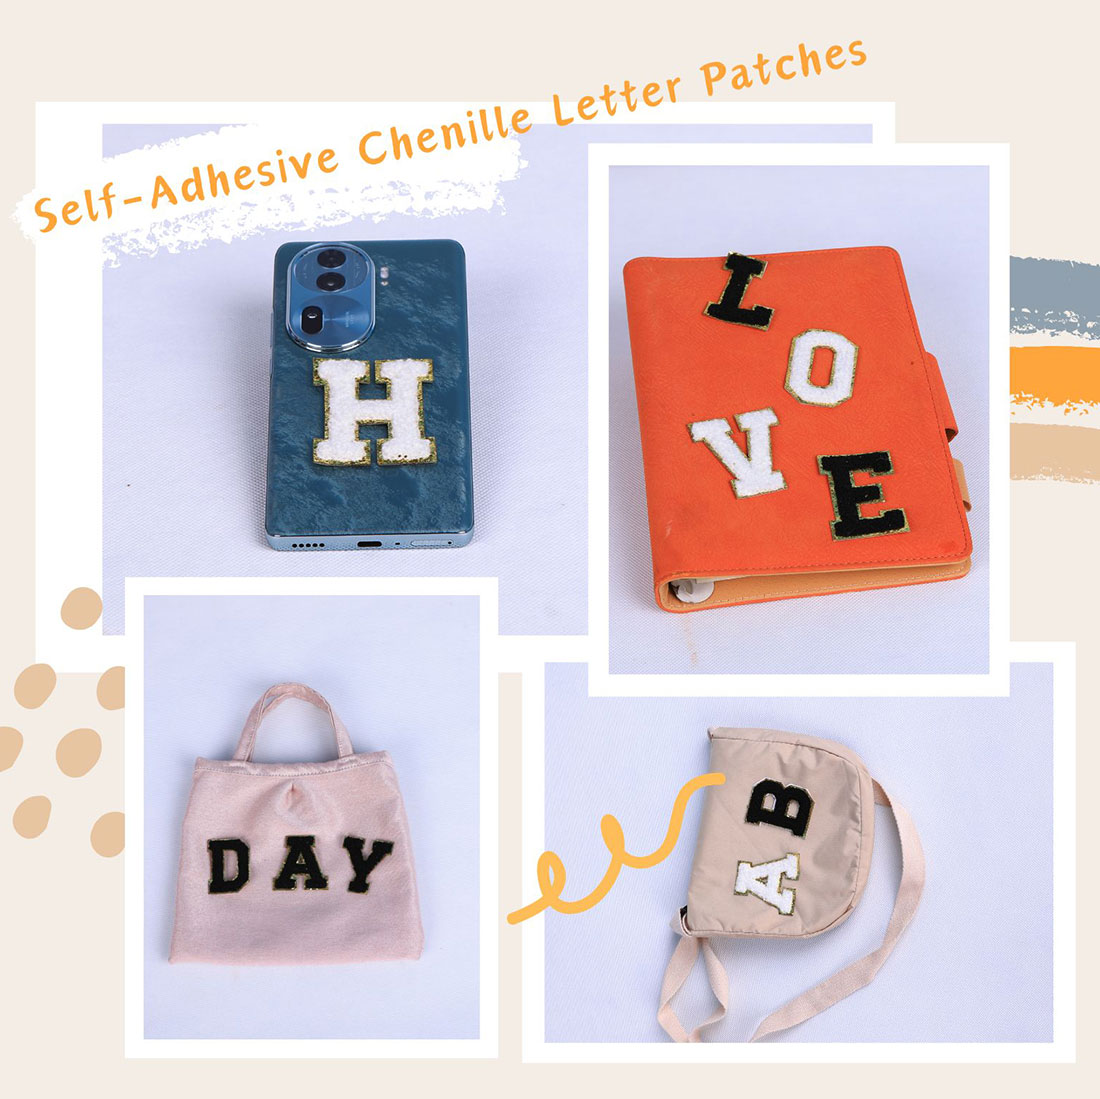
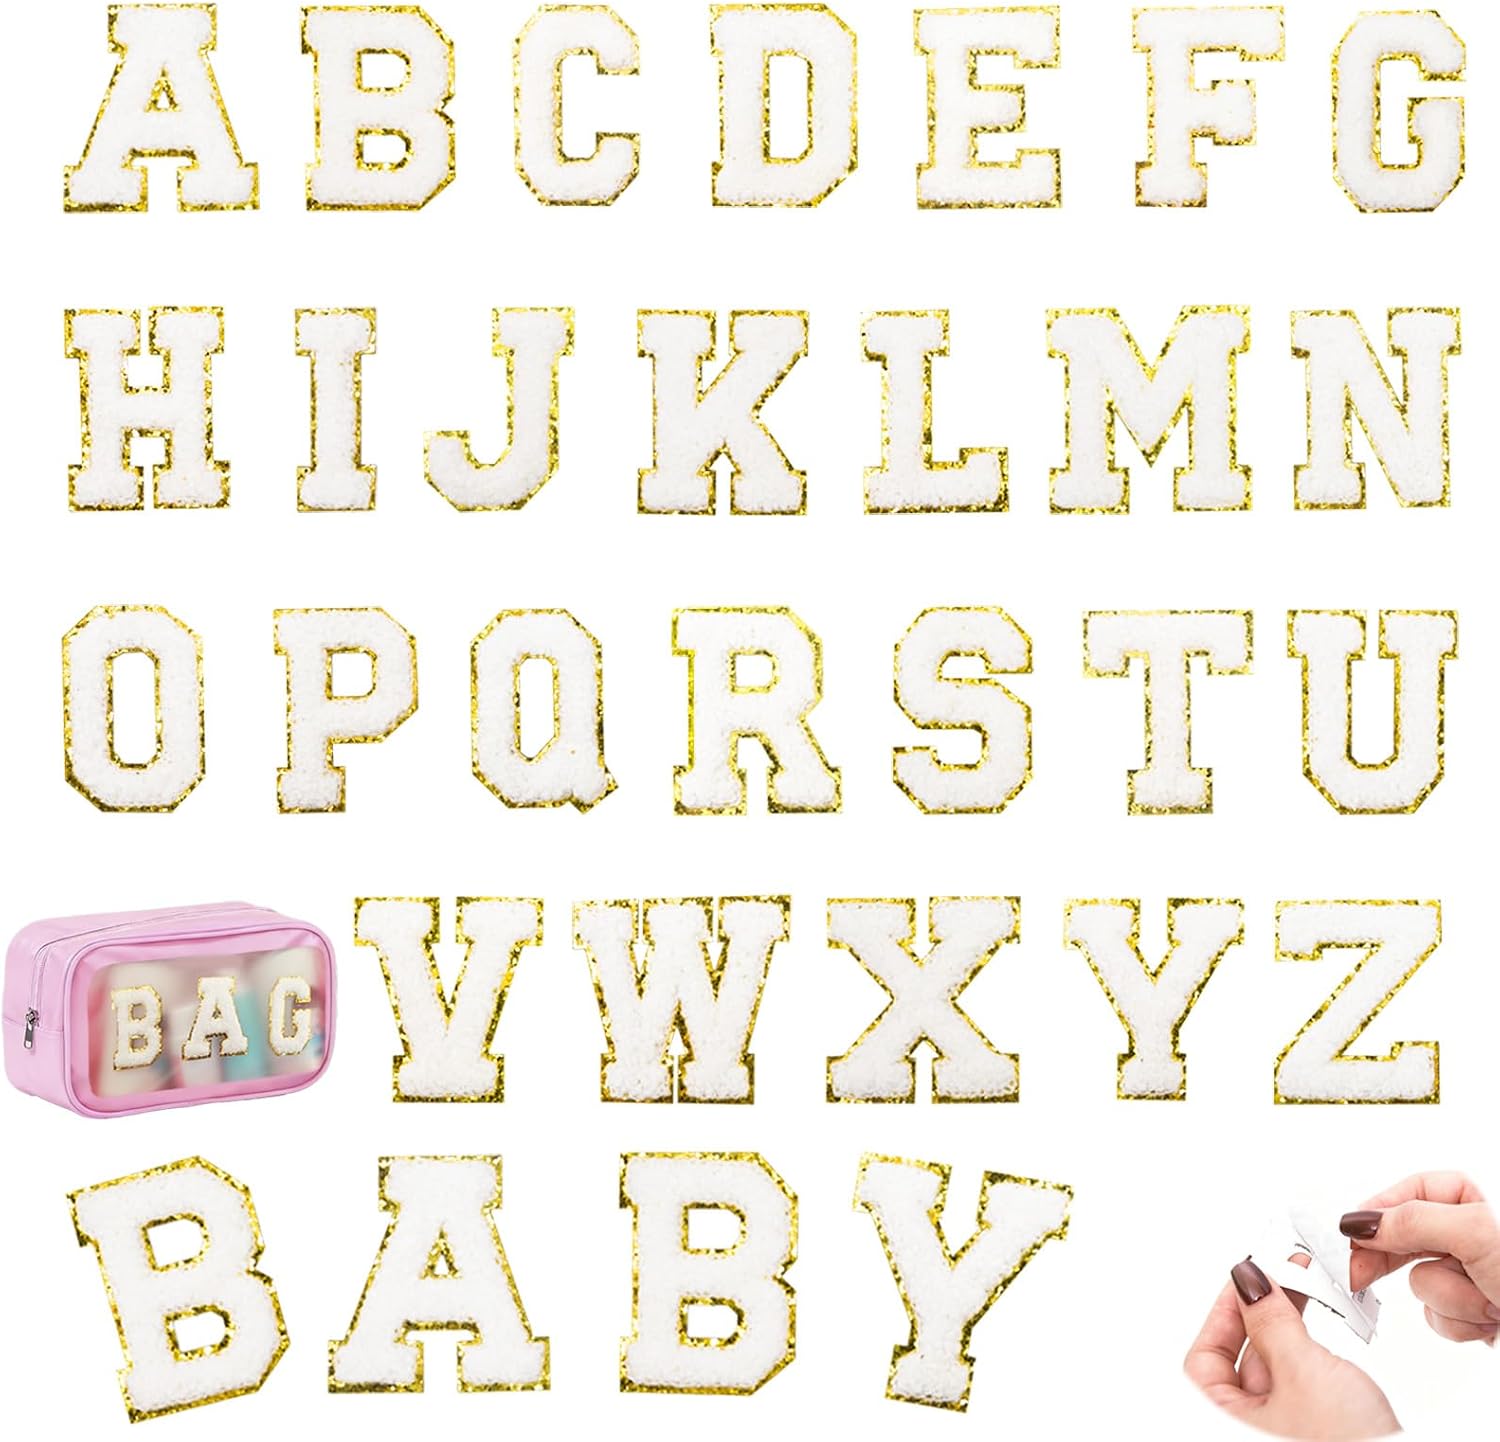
Self-adhesive chenille letter patches are the laziest good decision in DIY clothing. You peel, you stick, you press once, and you are done — no sewing, no guessing where the glue goes, no ironing a soggy rectangle for ninety seconds. I have put these on jackets, caps, totes and a very patient dog bandana, and the self-adhesive version is the one I hand to people who have never ironed a patch in their life. Here is exactly what the term means, how it differs from plain iron-on, and where it actually holds.
What “self adhesive” actually means here
A patch is only as permanent as its backing. A pure iron-on patch ships with a heat-activated film and nothing else — if you don’t nail the temperature and the pressure, it lifts within a week. A self-adhesive chenille patch adds a pressure-sensitive adhesive layer under that film. So the moment you stick it, it is already held in place by the glue; the heat step that follows just melts the iron-on film for good measure. In practice: peel the backing, position it, press for ten seconds, and it is not going anywhere even before the iron. That order — stick first, then heat — is the whole reason beginners stop ruining shirts.
Why I like self-adhesive over pure iron-on for a first try
Most patch failures I see are placement failures: the letter shifts while you are wrestling a hot iron onto it. The adhesive kills that. You set it with your hands, it stays, and the iron becomes a confirmation rather than a gamble. The trade-off is small: a self-adhesive backing is slightly thicker, and on very smooth synthetics it leans on the heat step more than on cotton. But on cotton, denim and canvas — the fabrics people actually patch — it is bulletproof.
The size that fits most things: 2.17 inches
Every letter in the YTONN set is right around 2.17 inches tall. That number sounds arbitrary until you try to centre a name on a hoodie chest or a tote front and realise bigger looks cartoonish and smaller disappears. At 2.17 inches a single initial sits clean on a cap front, and a six-letter name spans a tote without crowding the seams. If you are unsure whether your word fits before you commit heat, the letter layout previewer shows the true scale on a garment outline — I use it every time a name is longer than four letters.
The three colourways
| Set | What you get | Best for |
|---|---|---|
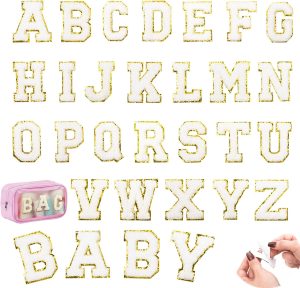
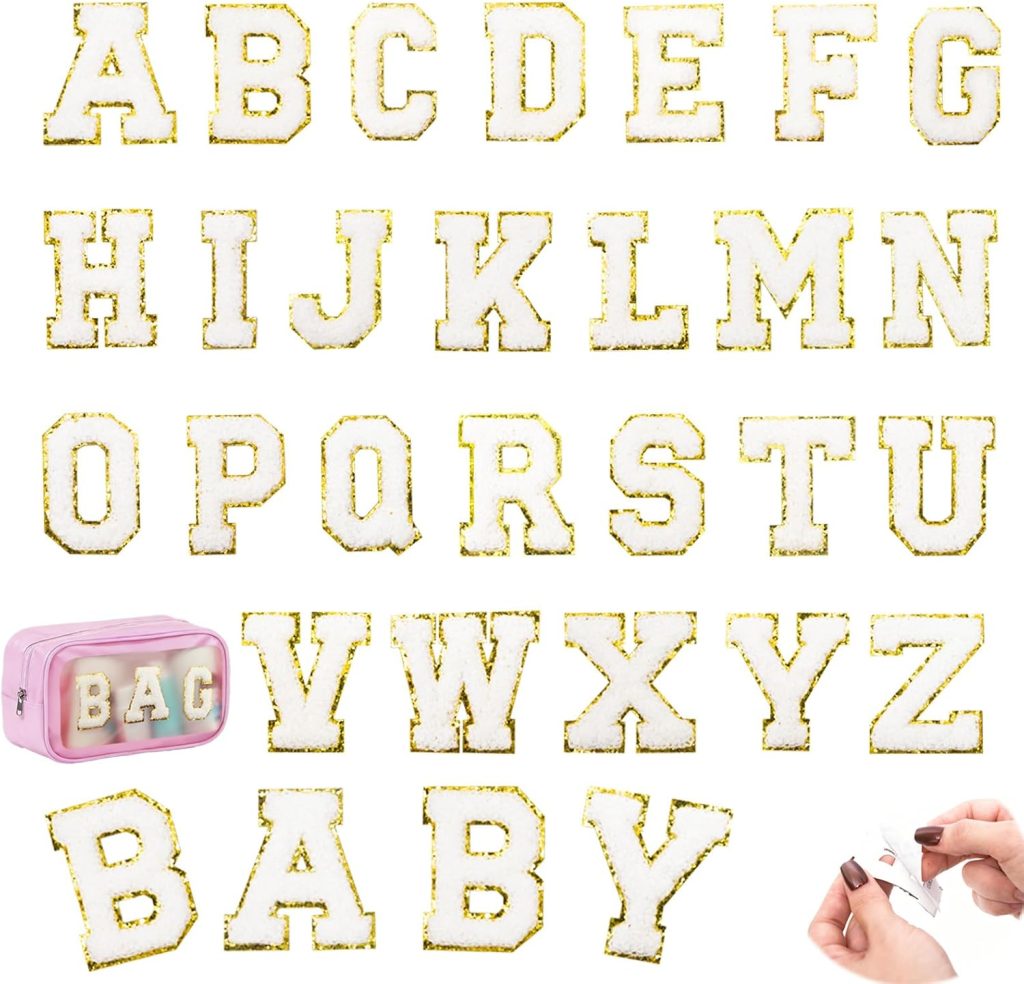
| White 26pcs | One of every letter A–Z | Navy, black, denim — the high-contrast classic |
| Black 26pcs | One of every letter A–Z | White, cream, pastel bases |
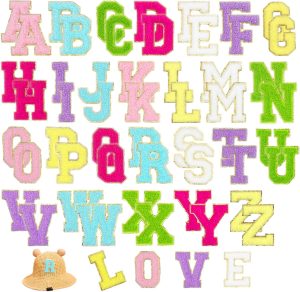
| Multicolor 52pcs | Two of every letter in five colours | Re-colouring the same initial for different garments |
Every letter carries a metallic gold embroidered border — that trim is what makes the set read as premium rather than craft-fair. The 52-piece multicolor box is the one I recommend to people patching more than one garment: two of every letter in five colours means you can spell a name on a navy tote in white and the same name on a white tee in navy from one box, without running out of common letters like E, S or A.
Where they stick — and where they don’t
- Cotton, canvas, denim: the easy wins. The adhesive grabs, the heat sets, the corners stay flat.
- Tote bags, caps, hoodies, jackets: all fair game — see the per-garment formulas for exact spots and letter counts.
- Smooth nylon / waterproof shells / leather: the adhesive alone is not enough — lean on a longer, hotter press and accept it is less permanent. I would not put these on a rain shell and expect a year.
- Anything with a heavy curve, a zip or a thick seam: skip it. The corners lift on the first bend. Flat fabric only.
The ten-second application (the short version)
Peel the backing. Press the letter onto clean, flat fabric and hold for a few seconds so the adhesive grabs. Cover with a thin cotton cloth and press a warm iron for about ten seconds, no steam, no sliding. Let it cool before you test an edge. The full, fabric-by-fabric walkthrough lives in the complete application guide — read that before your first cap, because caps are where people burn the trim.
Making them last
Wash cold, inside out, and keep the iron off the gold edge forever — direct heat flattens that fuzzy metallic trim into a sad line. A patch that is stuck and pressed properly survives far more washes than the shirt it is on usually deserves. If a corner ever lifts after a year of abuse, a ten-second re-press through cloth puts it back.
Is this the right patch for you?
If you want the dimensional, fuzzy, slightly old-school chenille look and you do not own a sewing machine, self-adhesive is the answer. If you specifically want a flat woven monogram or a rubbery PVC badge, this is not that — see the letter patch types guide for the other options. But for the A–Z varsity look that dominates jackets, jeans and hats right now, a self-adhesive chenille set is the lowest-effort way to get there.
Frequently asked questions
What does self adhesive mean on a chenille letter patch?
It means the patch has a pressure-sensitive adhesive layer under the usual heat-activated iron-on film. You peel the backing, stick the letter in place, and it is already held by glue; the iron step that follows just melts the film for permanence. The result is a patch that stays put while you heat it, which is why beginners fail less often.
Are self adhesive patches as permanent as iron-on?
On cotton, denim and canvas they are at least as permanent, because the adhesive already grips before the heat. The iron-on layer is a second lock, not the only one. On very smooth synthetics the heat step matters more, but on the fabrics people actually patch the self-adhesive version holds extremely well through washing.
Do I still need an iron if the patch is self adhesive?
Technically the glue holds on its own, but a ten-second press through a cloth sets the iron-on layer and makes it last. I always press once. The adhesive gets it placed perfectly; the heat makes it permanent.
What size are the YTONN self adhesive letters?
About 2.17 inches tall each. That size centres a single initial on a cap and spans a tote with a six-letter name without crowding the seams. For longer names, use the letter layout previewer to confirm fit before you heat.
Which set should I buy for more than one garment?
The 52-piece multicolor set: it has two of every letter in five colours, so you can spell the same name in white on a navy tote and in navy on a white tee from one box, without running out of common letters like E, S or A.
What fabrics should I avoid?
Heavy curves, zips and thick seams lift the corners on the first bend, so use flat fabric only. Smooth nylon, waterproof shells and leather grip the adhesive less and need a longer, hotter press, and even then they are less permanent than cotton or denim.
How do I wash clothing with self adhesive patches?
Wash cold and inside out, and never press a hot iron directly onto the gold trim, because direct heat flattens the fuzzy metallic edge. A properly stuck and pressed patch survives many washes; if a corner lifts after long use, a ten-second re-press through cloth fixes it.
Can I use these on a tote bag or a cap?
Yes. Totes are the ideal flat canvas for a name, and a single initial fits a cap front cleanly. Exact spots and letter counts per item are in the per-garment formulas guide, and the cap is the one place I recommend reading the full application guide first so you don’t scorch the trim.
Shop the A–Z chenille letter sets
Every set is dense dimensional chenille with a metallic gold embroidered border, a strong self-adhesive backing, and an iron-on layer for permanence. Pick the size that fits your project.
Related reading
- Letter patch types & uses — chenille, embroidered, iron-on, self-adhesive compared
- All chenille letter sets — the four colourways side by side
- The complete application guide — every fabric, every method
- Per-garment formulas — denim, hoodies, totes, caps, sneakers
- Letter layout previewer — see your name at true 2.17-inch scale before you buy
- Preppy letter-patch style — the Ivy League look, decoded
- Creative placement ideas — fourteen spots past the obvious chest
- Varsity letter guide — placement, size and spacing
- What chenille embroidery is — the raised-pile technique, explained
- Colour combination guide — what base plus what letter reads
- 5 style recipes — from quiet minimalist to loud streetwear
- Mixing chenille with other elements — what holds up, what does not
- 5 ways patches go wrong — and the two-minute fix
- How to decorate clothes with patches — a starter walkthrough